Spider plants have a reputation for being nearly indestructible, but a cramped pot or soggy soil can quietly stall their growth. Repotting at the right moment, with the right mix and container, is what keeps those arching leaves and baby “spiders” looking lush in every season. With a few smart checks and a simple routine, anyone can move a spider plant into fresh quarters and set it up to thrive year-round.
The key is to read the plant’s signals, choose materials that match its thick, thirsty roots, and handle the move in a way that avoids shock. Once that foundation is in place, light, water, and winter tweaks do the rest of the work.
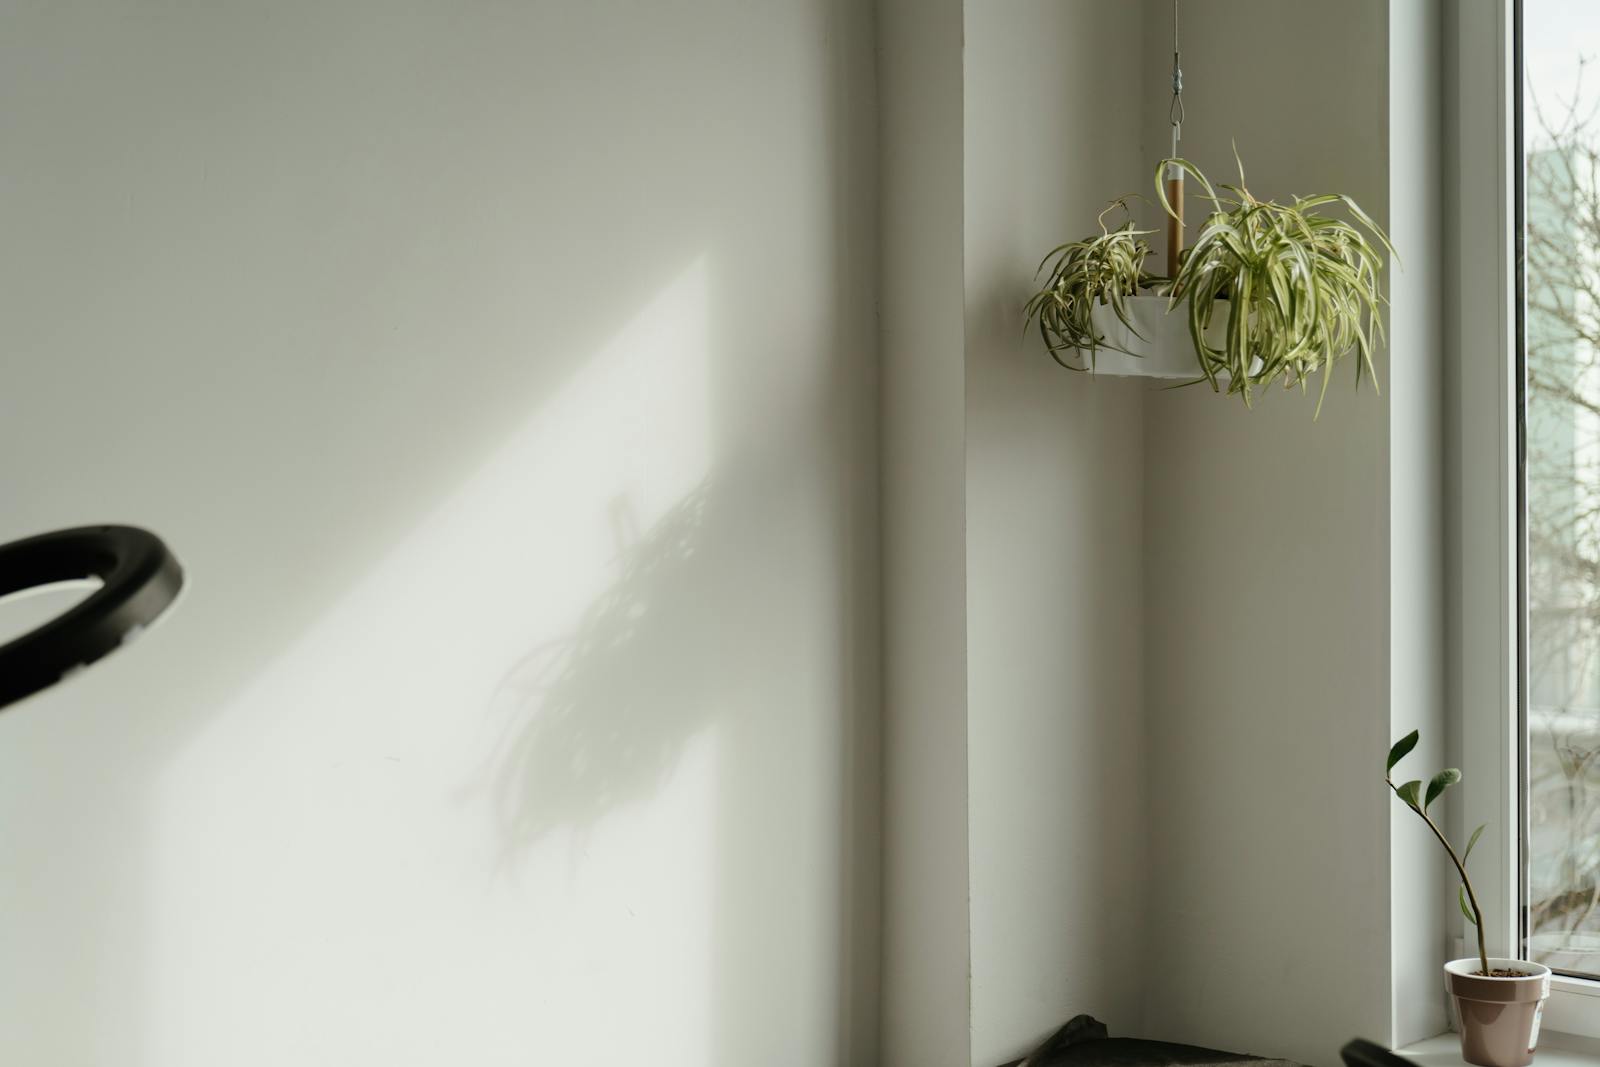
Know when your spider plant is ready for a move
Spider plants are more likely to need a new home because they are rootbound than because they are fussy. Growers are advised to flip the pot or check drainage holes to see if thick white roots are circling or poking through, a sign that the plant has filled its container and needs more space to keep producing offsets, a point echoed in guidance that tells owners to check those openings before gathering supplies. Another clear cue is when the plant starts pushing itself up and out of the pot, a common side effect of the thick rhizomatic roots that can swell and lift the whole root ball.
Leaf changes can also flag that it is time to act, but they are easy to misread. One detailed Spider Plant Repotting guide notes that yellow tips are not always a repotting emergency and can come from minerals in tap water or too much fertilizer, so the roots themselves should be inspected to see if they are circling tightly or damaged before deciding. When the plant looks generally unhappy, with faded color and sluggish growth, experienced growers point out that the problem may be cramped roots and tired soil, and they describe revitalizing an unhappy simply by refreshing the mix and trimming the root mass.
Pick the right pot, soil, and timing
Spider plants store water and nutrients in thick rhizomatic roots, so they like a pot that is just one size up with solid drainage rather than a giant container that stays wet. One care guide explains that the thick rhizomatic roots can handle relatively dry air and do not need heavy, moisture-retentive soil. A separate planting overview notes that Chlorophytum comosum is not too picky about substrate but that a loose, humus-rich mix with good drainage is ideal, and it walks through how to plant spider plants and separate them from the mother plant without stressing the roots.
Timing the move around the plant’s natural rhythm makes recovery easier. Growers who track seasonal performance point out that the Best Time for is spring through summer, when growth is active and houseplants are not in their rest period. Another step-by-step resource agrees that the best time for repotting spider plants is in the spring, describing it as the start of their growing season and explaining that this window gives them the longest runway to bounce back, especially if they are moved into bright but indirect light as outlined in a step guide.
Repot step by step and keep it thriving all year
The actual repot is straightforward once the prep is done. Many home growers follow a simple routine like the one demonstrated in an Apr video walkthrough, gently easing the plant from its pot, loosening the root ball, and setting it into fresh mix. Another Mar tutorial emphasizes creating an attractive environment that also supports healthy roots, while a separate Aug repotting and care guide shows how even a plant that arrived with wet soil can be shifted into a better draining setup without watering again right away.
Written guides line up with those visuals. One houseplant resource advises owners to select a container that is only slightly larger than the current one and has good drainage, warning that overpotting and poor drainage are a common issue with spider plants. Winter care advice adds that placement matters after the move, recommending that people provide enough sunlight by moving the plant closer to a bright window that does not get harsh direct sun and by using a humidifier or pebble tray to keep the air from getting too dry, guidance summed up under the phrase Provide Enough Sunlight for winter health.
Once the plant is settled, ongoing care keeps it looking full. A detailed encyclopedia entry on Best Growing Conditions notes that these plants prefer bright rooms and indirect light, and that the pot should always have good drainage. Broader care advice explains that owners should fertilize during the main growing season, with one guide recommending that people Fertilize Your Spider every couple of weeks in spring and summer when growth is fastest. When it is time to repot again, a step list suggests filling the new container halfway with fresh mix, setting the plant in, then topping up and gently pressing the soil to prevent air pockets, a process laid out in a repotting guide that also explains what type of soil spider plants like.
Soil and pot choice can be fine-tuned further. One resource focused on What Type of notes that poor drainage can stunt growth and that a light, airy mix is best. General repotting advice warns against choosing a pot that is too large, explaining that opting for an oversized container can lead to excess moisture and root problems, and it walks through what not to do when repotting plants, including how to grip the base of the stem and let the soil dry slightly between waterings. A final step-by-step breakdown recommends filling up half of the pot with fresh mix, positioning the root ball, then topping off and watering thoroughly so the soil settles, advice captured in a guide that details how to fill up half the container and finish the job cleanly.
More from Willow and Hearth:
Leave a Reply