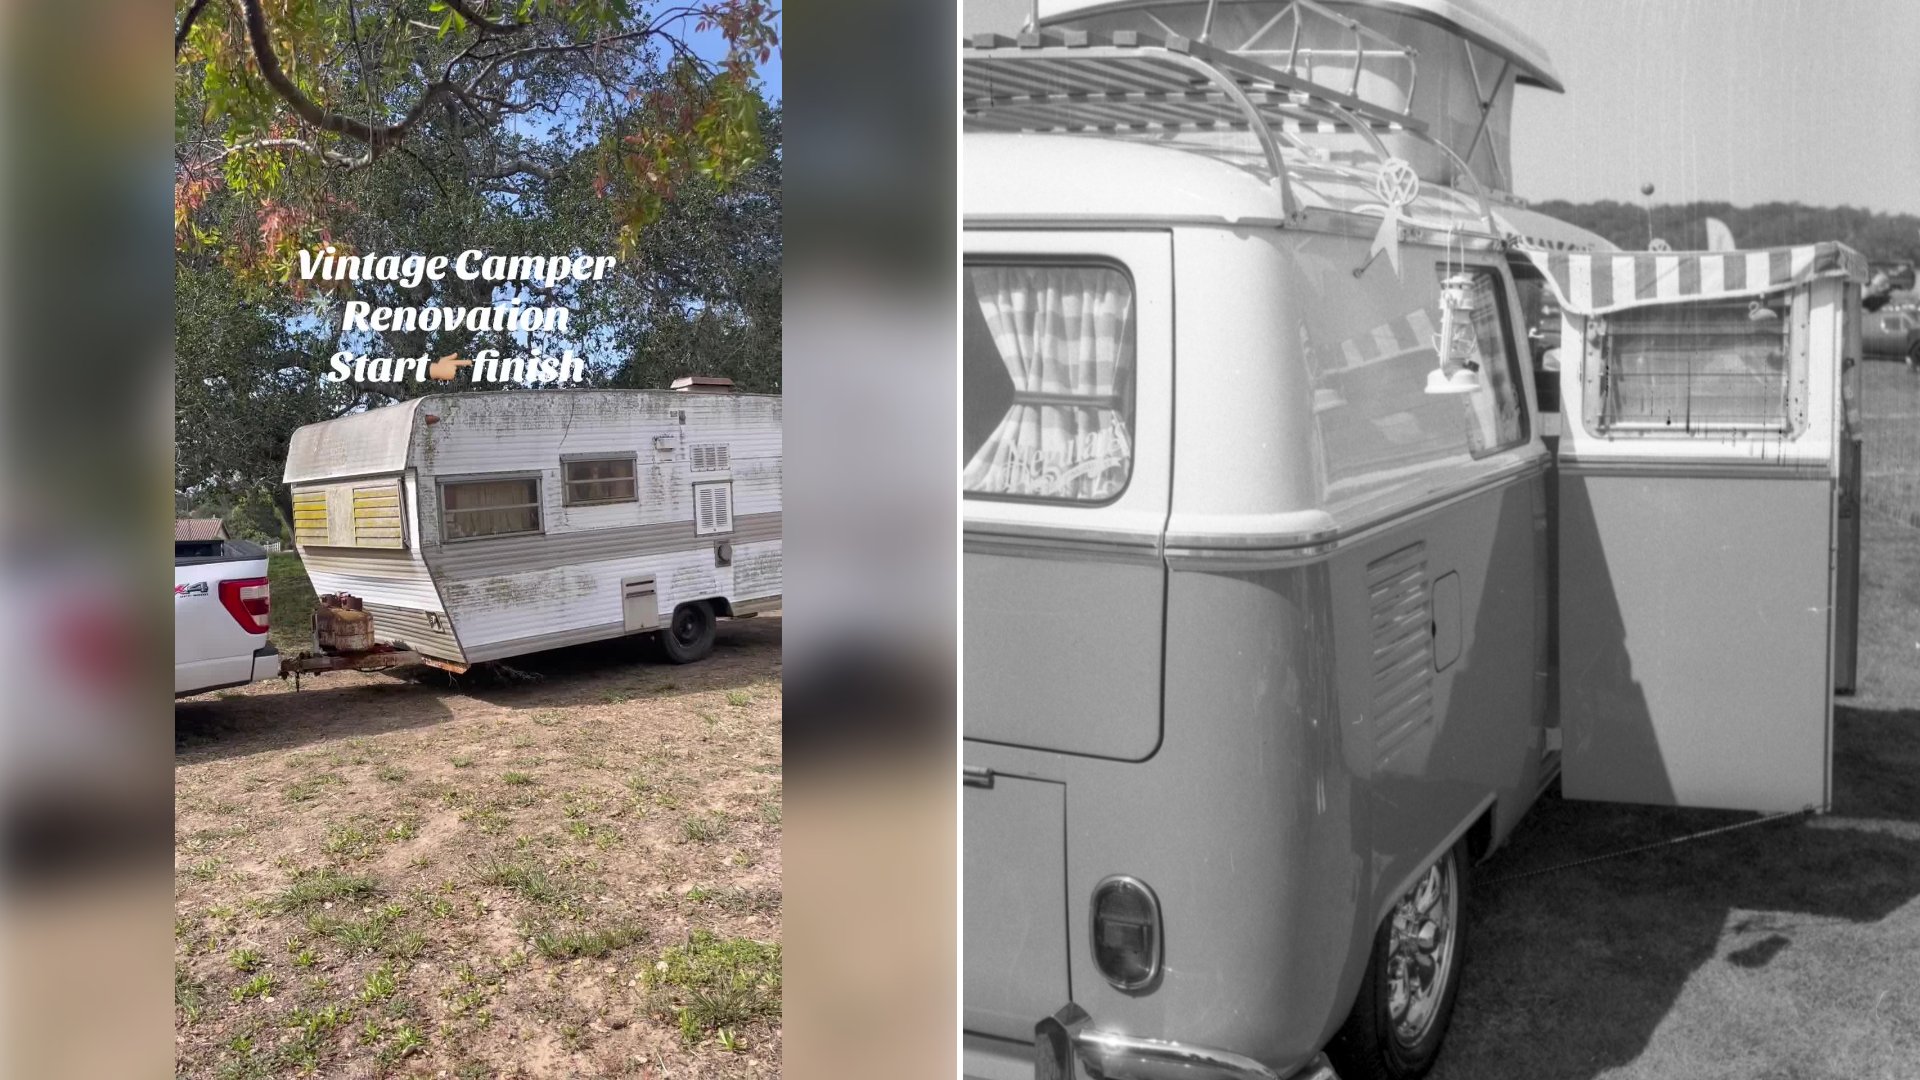
Some projects start with a spark of imagination. For the woman behind @nailgun.nelly, it began when they came across a little camper that needed so much help but had so much potential. In a start to finish recap she shared on social media, she walked through the full transformation, which she says took about three and a half months to complete.
@nailgun.nelly
Hobbling Her Home
She says they hobbled the camper home, and then the work began right away. She immediately started ripping everything out, including the carpet, the cushions, the curtains and the countertops. Gutting a camper down to its bones is both exciting and a little scary, because it shows you exactly what you have to work with.
Fresh Looks Inside and Out
Outside, she chose white paint with a little yellow stripe. Inside, she used board and batten to cover the destruction and create a feature wall. That is a smart trick for any older space. Board and batten is a pattern of narrow strips applied over flat panels, and it hides flaws while adding texture.
She describes sealing the seams with Bondo, a body filler, and adding a waterproofing membrane in the bathroom. Both steps are about keeping water out, which is the most important job for any older camper. Water damage is the enemy of vintage trailers, so careful sealing is where many restorers spend their time.
Kitchen and Plumbing Changes
In the kitchen area, she framed out a spot for a new two burner stove and made the opening for the refrigerator bigger so a new fridge would fit. She also upgraded to a tankless water heater and got rid of the old water tank.
She adds that they upgraded the entire electrical system and added solar panels. Anyone planning something similar should know that wiring is one area where it pays to be careful, to follow the manufacturer’s directions for every component and to have a qualified person check the work if you are unsure.
Color, Texture and Little Details
Then the decorating began. She painted the cabinets a dusty pink and added 12 volt lighting, butcher block counters and new floors. She lists a sink and a real tile backsplash glued down with silicone as grout, which is a practical choice in a space that moves and flexes on the road. She also mentions an epoxy dinette table and brass and leather pulls.
One detail stands out above the rest. The brushed gold faucet is one that her little boy helped cut the hole for. It is a small line in a long list, but it shows that her son had a hand in the project.
The finishing touches kept coming. She adds a black tank, new tires and baby moon hubcaps, a penny tile vinyl sticker sheet in the bathroom, and a portable AC where the dead furnace had been. Finally, she says, they brought in the new fridge.
What the Project Teaches
Even if you never buy a camper, this renovation holds plenty of lessons for any DIY project.
Strip it to understand it. Removing carpet, curtains and cushions lets you see structural problems early. Soft spots, stains and old leaks are far easier to fix before new finishes go on.
Seal before you decorate. Her list begins with seams and a bathroom membrane before it moves to pink paint. Moisture protection comes first on any project, and the pretty work comes last.
Plan the systems. Water, electrical power and appliances all depend on one another. Choosing a tankless water heater, for example, changes how much storage and space you need. Write down your power needs before you buy solar panels or lighting, and size the wiring to match.
Use cheaper stand ins for big visual impact. A vinyl sticker sheet that looks like penny tile, or a coat of paint on old cabinets, can give a space a fresh style at a fraction of the cost of a full rebuild.
Choose finishes for movement. A camper flexes as it travels. Flexible adhesives and caulks can handle that movement better than rigid materials in some spots, so read the product directions carefully.
Let kids help in safe ways. Letting a child help with an age appropriate task, such as marking a spot, makes the finished space mean more to the whole family.
Why the Style Works
Her description of the finished camper leans into a girly aesthetic: dusty pink cabinets, brass and leather pulls, a gold faucet and a pastel palette. The white and yellow outside paint keeps the look cheerful, and the butcher block adds warmth. The mix feels cozy and bright instead of overly sweet because the natural materials balance the color.
Budgeting Time and Money
She says the project took about three and a half months, which is a helpful benchmark if you are thinking about your own restoration. Remember that the timeline she shared covers one team working through a long list, and your own project could take longer or shorter depending on how much damage you find, how much help you have and what your schedule allows.
Set aside extra funds for surprises, particularly for floors and water damage. Keep receipts and notes, and take photographs at each stage so you can refer back to wiring and plumbing later.
A Restoration Worth Starting
From the first torn out carpet to the final fridge, her recap shows that a worn camper can become a bright, personal space with patience and steady effort. If you have been dreaming about a project of your own, her story is a sign that the best time to start is the day you bring it home.
Leave a Reply