When lumber prices went through the roof during COVID, one homeowner decided he was not going to pay up. He grabbed salvage wood, hunted down a clearance deal at Lowe’s, and built a 16-by-26-foot covered outdoor kitchen structure for under $5,000. Five years and three or four hurricanes later, it is still standing.
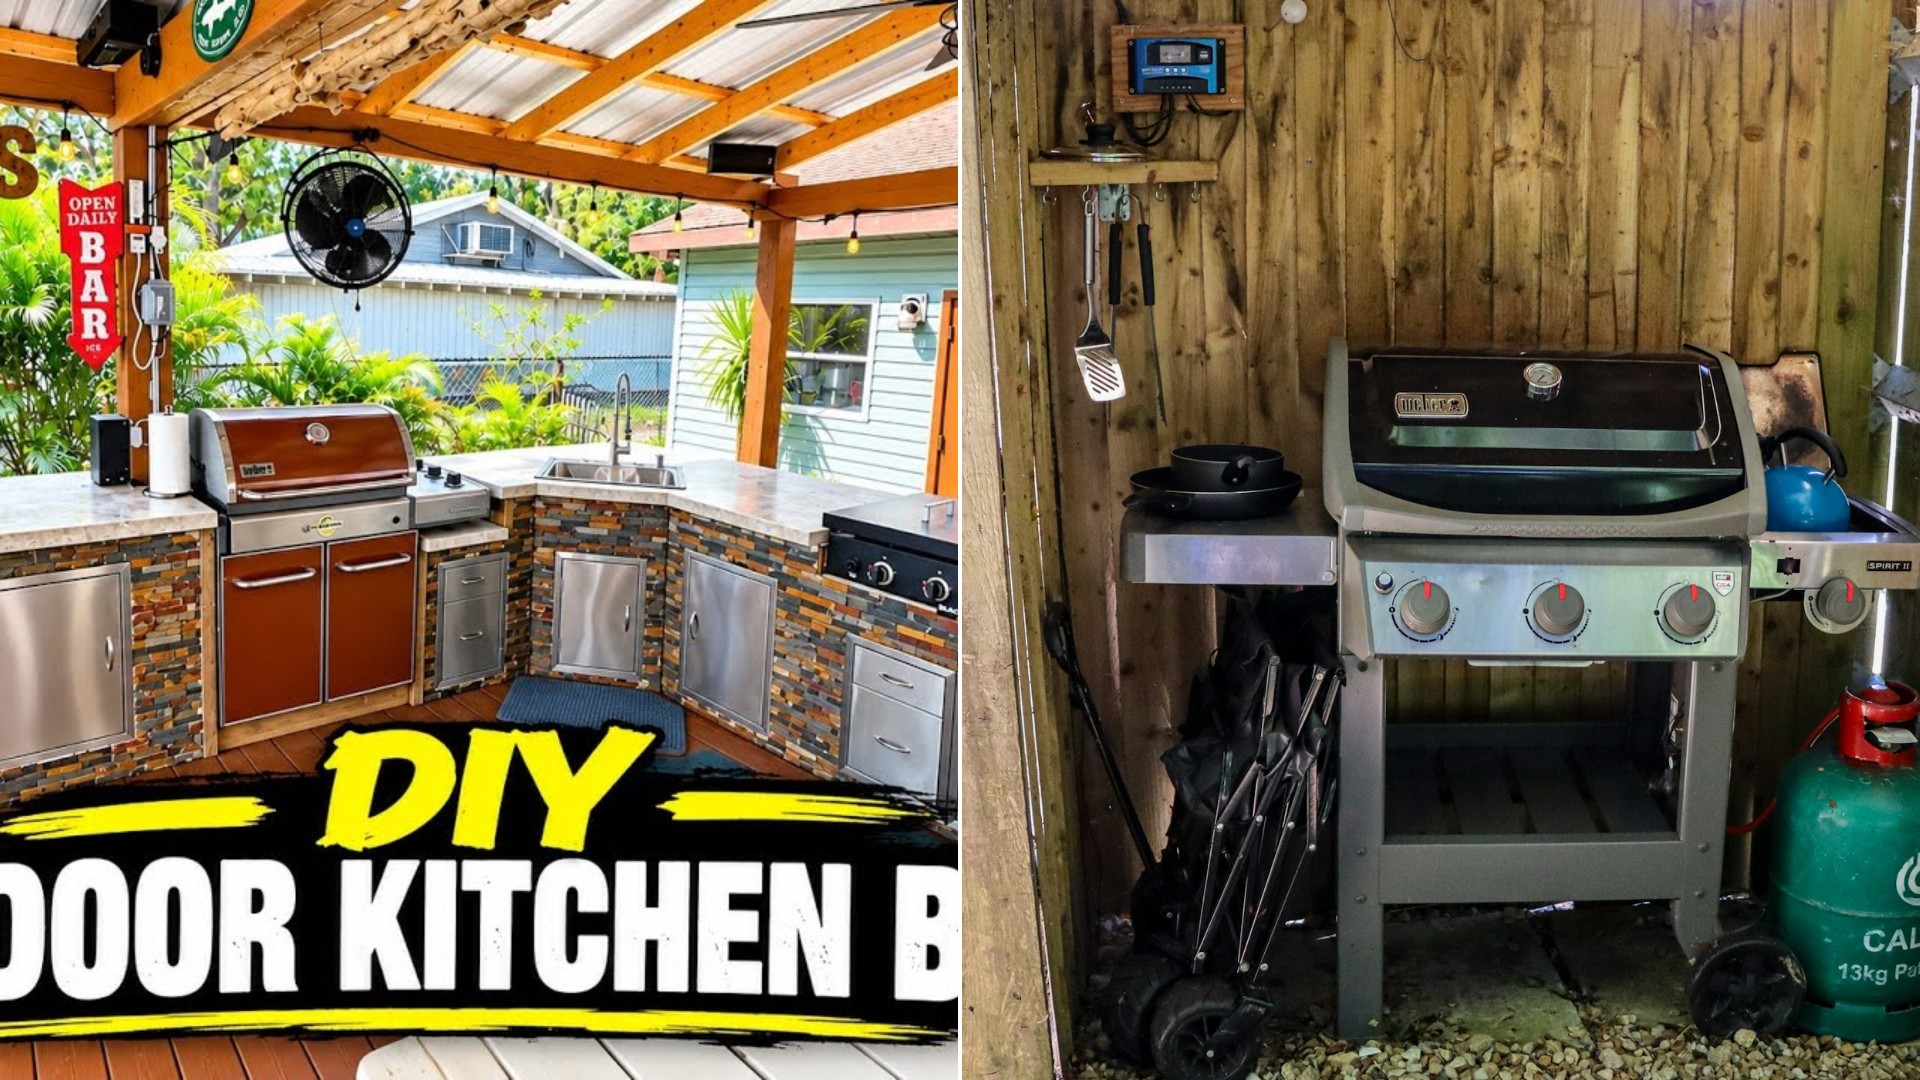
The builder behind Beau Builds walked viewers through the entire project in a YouTube video, from sinking the first post to pouring concrete countertops. He says he did it by himself on a budget, with a little help from his dad and a buddy.
Posts, Salvage Lumber and a Smart Roof Trick
The build started with six 6×6 posts sunk about three feet into the ground, as deep as he could go before hitting water. He painted the bottoms with leftover roofing paint. Because lumber was so expensive at the time, he reused whatever he had, including a pile of 4×6 posts that became side beams. That took a lot of odd notches, and everything is held together with heavy-duty structural screws.
The roof is where he saved real money. His original plan was to match the house pitch, which he recalls as a 5/12. By dropping to a 3/12 pitch, he could use 8-foot roofing sections and still have about a foot of overhang across posts that sit about 14 feet apart. He finished the whole roof, lumber, hardware and fasteners included, for less than $1,000.
It was his first gable roof, so he figured out the angle once and repeated it. He cut off sections of 4×6 for temporary king posts to hold the ridge beam while he set rafters, then kept them for extra support and looks. Hurricane ties fasten everything down tight, and he says the structure has come through about three or four hurricanes already. The metal roof was no picnic, though. He says it was around 100 degrees, with sun reflecting off the metal, and the roofing tape took a while to master.
The $2,000 Clearance Deck
For flooring he weighed pavers and concrete, then found composite decking on clearance at Lowe’s. He bought enough to cover about 500 square feet for around $2,000, which he calls a pretty good deal at the time. It is a floating deck built with 2x10s fastened to the posts and 2×8 joists spaced 16 inches on center, which he admits is probably overkill, but he wanted it to last and knew the kitchen would add serious weight.
He used joist tape anywhere water could sit, added plenty of blocking, and used hidden fasteners so no screw holes show. Looking back, he says he would notch the posts to carry the load rather than leaving it all on the fasteners. He went back later and added more support, and it has been about five years with no issues.
The dimensions came from the materials. The flooring pieces run 16 feet, the posts sit 14 feet apart, and the joists between posts on the long side are 12 feet, so he could use regular lumber from Home Depot. By his count, the finished structure came in under $5,000. He tapped into an existing junction box from the previous owner for a 20 amp circuit, wired up ceiling fans, and painted the exposed wood to match the deck boards.
Building the Kitchen Around the Appliances
He did not draw plans. He put painter’s tape on the floor and set the grill, flat top griddle and fridge where he wanted them, then built around them. The base is 2x4s laid flat with pocket screws, raised on cut-off pieces of composite decking so no moisture touches the wood. He framed around the doors, drawers and trash can after buying them, and tapped water from the garage behind the kitchen where his hot water heater sits.
Everything was covered in cement board, with quarter-inch on the sides and half-inch on top, cut with an angle grinder and a regular metal cutting blade. The inside of the griddle area got a half-inch layer too so heat stays away from the wood. He used pressure-treated lumber but says regular 2x4s would probably work, since none of it is exposed to moisture.
For the look, he found stacked stone on clearance at Home Depot and bought a whole pallet, finishing the stonework for under $300. He used large-format Versabond to stick it on, a product he had used in tiled showers before. The stone’s corner pieces were not on clearance and were expensive, so he mitered old fence pickets for a rustic wood corner that matched the stone’s thickness. He cleaned and pressure washed the stone and added a wet-look sealer.
Concrete Countertops and the Final Tally
For countertops he used a concrete countertop system from Z Counterform. It uses regular 4,000 PSI concrete, with fiber netting and fiberglass flakes mixed in. It took 16 bags over two days and two to three people, one mixing and one screeding, and he used a miter saw to cut forms, taped with duct tape. He says it was his first time working with concrete, so the finish is not perfect, and a two-part epoxy coat shows the little imperfections, which gives it a rustic industrial look.
Altogether, by building it himself and reusing his old grills, he says the outdoor kitchen itself cost about $3,000, counting doors, drawers, stone, wood and concrete. He keeps a fire extinguisher nearby, and after five years of heavy use he has had no problems.
What You Can Borrow From This Build
You do not need his exact setup to use his best ideas. Check for clearance decking and stone before paying full price, and size the structure around standard lumber lengths to avoid waste. Use a shallower roof pitch where it lets you use shorter, cheaper roofing sections. Protect wood from moisture and heat with cement board and spacers, and use hurricane ties if you live in storm country.
He asked viewers to share improvements in the comments and said he wants to start a discussion about doing outdoor kitchens yourself. His own verdict is that it is very fulfilling and gets a ton of use.
More Stories You May Like
- Wife Tours the Farmhouse Style Kitchen Where Her Husband Built a Solid Mahogany Sink and the Island Top Is the Last Spalted Maple From Their Property, Because She Says It Did Not Come From a Showroom
- DIY Decorator Says Cabinet Hardware Can Make Or Break Your Kitchen And Shares A $10 Tool That Keeps You From Drilling Crooked Holes
- EPA Says Every Home Should Be Tested For Radon Because High Levels Turn Up In Every State And Many Kits Cost Under $25 But 4 Picocuries Per Liter Means Fix It
Leave a Reply