Walk into any hardware store and you will find a wall of push-to-connect plumbing fittings, and SharkBite is the name most people reach for. DIYers love them because there is no soldering, no torch and no glue. Plumbers, on the other hand, tend to roll their eyes. According to @LRN2DIY, a home-repair channel run by Niels, the reason comes down to three mistakes that homeowners keep making.
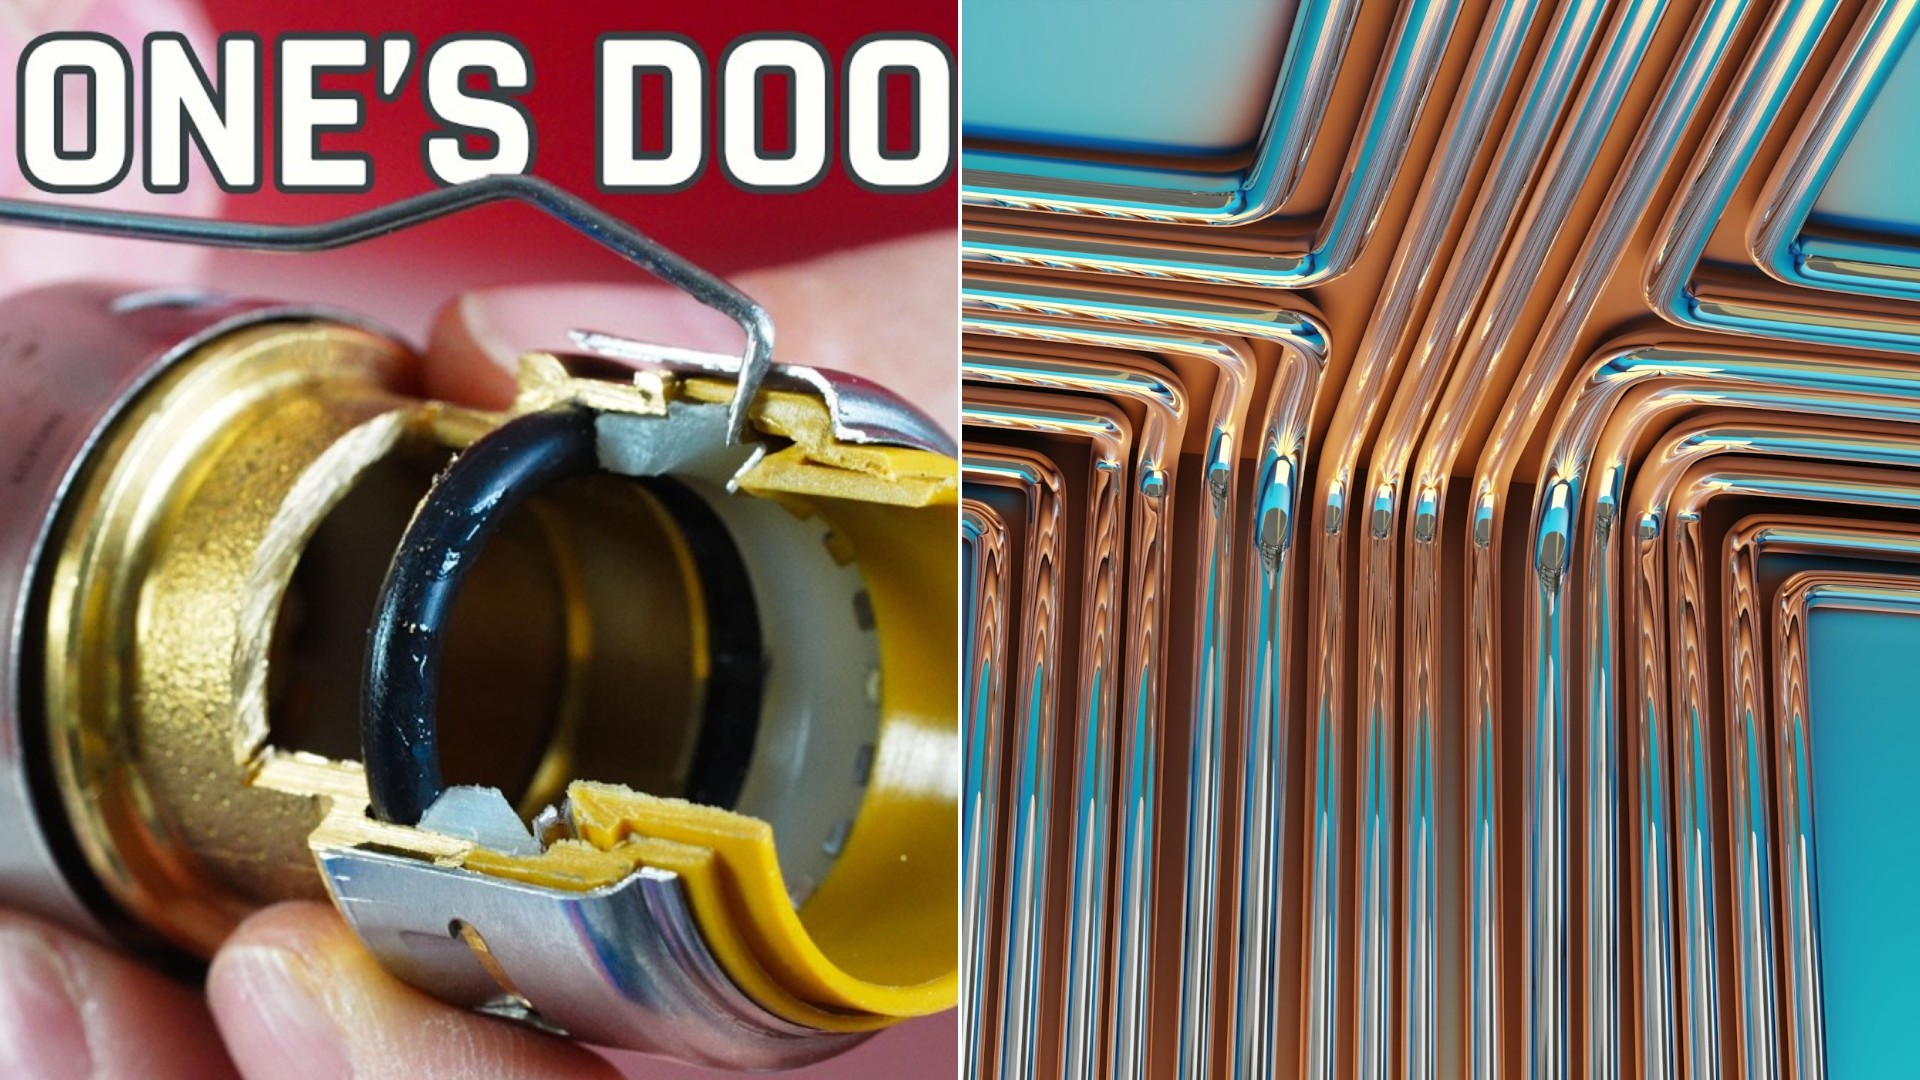
To find out why, Niels cut a SharkBite fitting open to see every part inside. His goal was simple: show the three errors so that your connections seal properly and last for decades. He starts with the last mistake on his list, because it affects the other two.
Here is the surprise in his testing: the cheapest tool in the pile turned out to do some of the best work, and a pricey favorite let him down.
Mistake Three: A Crooked Cut
The first problem is failing to get a nice square cut on the pipe. This applies to copper, PVC and PEX alike. A square end slides into the fitting and makes full contact with the rubber sealing ring all the way around. A slanted end leaves part of that ring doing less than its share.
Niels was installing a thermostatic mixing valve in his basement, all in three-quarter-inch PEX, using a Milwaukee set of pipe cutters he calls one of his favorites. He admits he is something of a Milwaukee fanboy. Even so, he says he was not impressed with what a $40 tool was doing for his cuts, and they were not coming out square.
So he went shopping. He heard that SharkBite sells a very similar set for about $40 to $42, bought it, and reports that it made a big difference. The reason is a wider shelf for the pipe to sit on while you cut. That small bit of extra space makes it much easier to get a square cut every time.
The Cutter That Beat The Big Names
Niels says the little cutters that come with many kits are just not very good. It is easy to end up with an 18 degree cut, they are poor for PVC and PEX, and you should not try them on copper at all.
The one that surprised him most was a plain PEX tube cutter that handles pipe from half an inch up to one inch. It will not cut PVC or anything else, but for PEX it costs $13 and does what he calls a fantastic job. It is a radial cutter, so you spin it around the pipe and get a perfectly square 90 degree cut every single time.
He also tried ratcheting cutters. His Husky pair, which he has owned for about 14 years, does an okay job. Klein Tools, though, makes what he considers very good pipe cutters, and again the wide shelf is the key. A $22 Klein ratcheting cutter turned out to have a better shelf and more accurate cuts than a precision ratcheting cutter that cost about $30. As he puts it, paying more does not always get you better value. If you want one cutter for both PEX and PVC, the $22 Klein is the one he recommends.
For copper, a basic tubing cutter does a fine job if you have room to swing it around the pipe. When space is tight, a single-ended hacksaw works, though it leaves a messy end that needs high-grit sandpaper or emery cloth. He also likes close-quarters copper cutters. The Milwaukee version runs $60 and is for copper only, so he points to less expensive brands on Amazon and other stores. He bought one set for $27, less than half the price, that includes three replacement blades and an aluminum-handled interior deburring tool with an extra blade. Reviews were great, and in his own testing it was a bit tough to turn, so he grabbed a glove for a better grip.
Mistake Two: Skipping The Deburring
Inside the fitting sits a soft rubber O-ring, and it has to be soft and pliable to seal. That is also its weakness. Anything that can scratch or score it, even a small nick, can leave a gap in the seal.
That is why Niels says you must deburr the outside edge of the pipe before inserting it. The inside does not touch any part of the fitting, so cleaning it out is good practice but not the key step. The outside edge is what rides over the ring.
His tool of choice is the SharkBite deburring and depth tool, a simple three-size piece with little cutter wheels. He slides half-inch PEX into the proper opening, spins it, and shavings come out as it leaves a clean chamfered edge. It works on PVC as well, and on a half-inch piece of copper it improved even a clean factory edge. He points out that the tool is not required. A standard inside and outside deburring tool works too. This one just happens to be sized for these pipes and does a second job.
One note on the tool: the half-inch end is marked for SharkBite Max, the longer fitting. Flip it around and it says first gen, and an older non-Max fitting only goes to the shorter line.
Mistake One: Not Pushing The Pipe In Far Enough
Niels calls improper insertion depth the biggest mistake people make. To prove it, he slid a freshly cut copper pipe into a fitting. It felt really snug, like it was good to go. He had marked the pipe with a fine-point Sharpie, a precise line being the point, and then used a removal tool to pull the pipe out and check.
The result was not even close. The mark showed the pipe had gone nowhere near deep enough. You can even see little teeth marks on the copper where the stainless steel grabber ring bit into it, and those marks sat far short of where they belonged.
The fix is to measure and mark the insertion depth before the pipe goes in. The measurements are printed on every package, and the deburring tool can mark the line too. Then insert the pipe, and when it feels done, push further while giving it a little twist, as the instructions suggest. On his second try the pipe went in to the line, and the scratch marks showed how much farther it traveled. It went from short of the mark to fully seated. That, he says, is what makes a SharkBite seat properly and seal perfectly.
The Short Shopping List
Niels wraps up with a simple kit for each material.
- PEX: the $13 PEX cutter, the deburring and depth tool, and a fine-point Sharpie.
- PVC and CPVC: the $22 Klein ratcheting cutter can stand in for the PEX cutter.
- Copper: a basic tubing cutter, or a close-quarters cutter where space is tight.
With those on hand, he says you get the right depth, a clean deburred edge and a square cut every time. He also suggests that PEX A may be a better fit for most DIYers than PEX B, and he has a separate video on why.
More Stories You May Like
- Scary Home Inspection Report Does Not Mean A Bad House Says Expert Who Explains The Three Buckets That Decide When To Negotiate Or Walk Away
- She Almost Built Her Own Entertainment Center Until She Found Pre Made Cabinets On Amazon That Cost About $700 All Done
- Cheap Vinyl Plank That Dents Skipped Underlayment And Ignored Subfloor Moisture Make Flooring Regret Expensive So Take Samples Home First
Leave a Reply