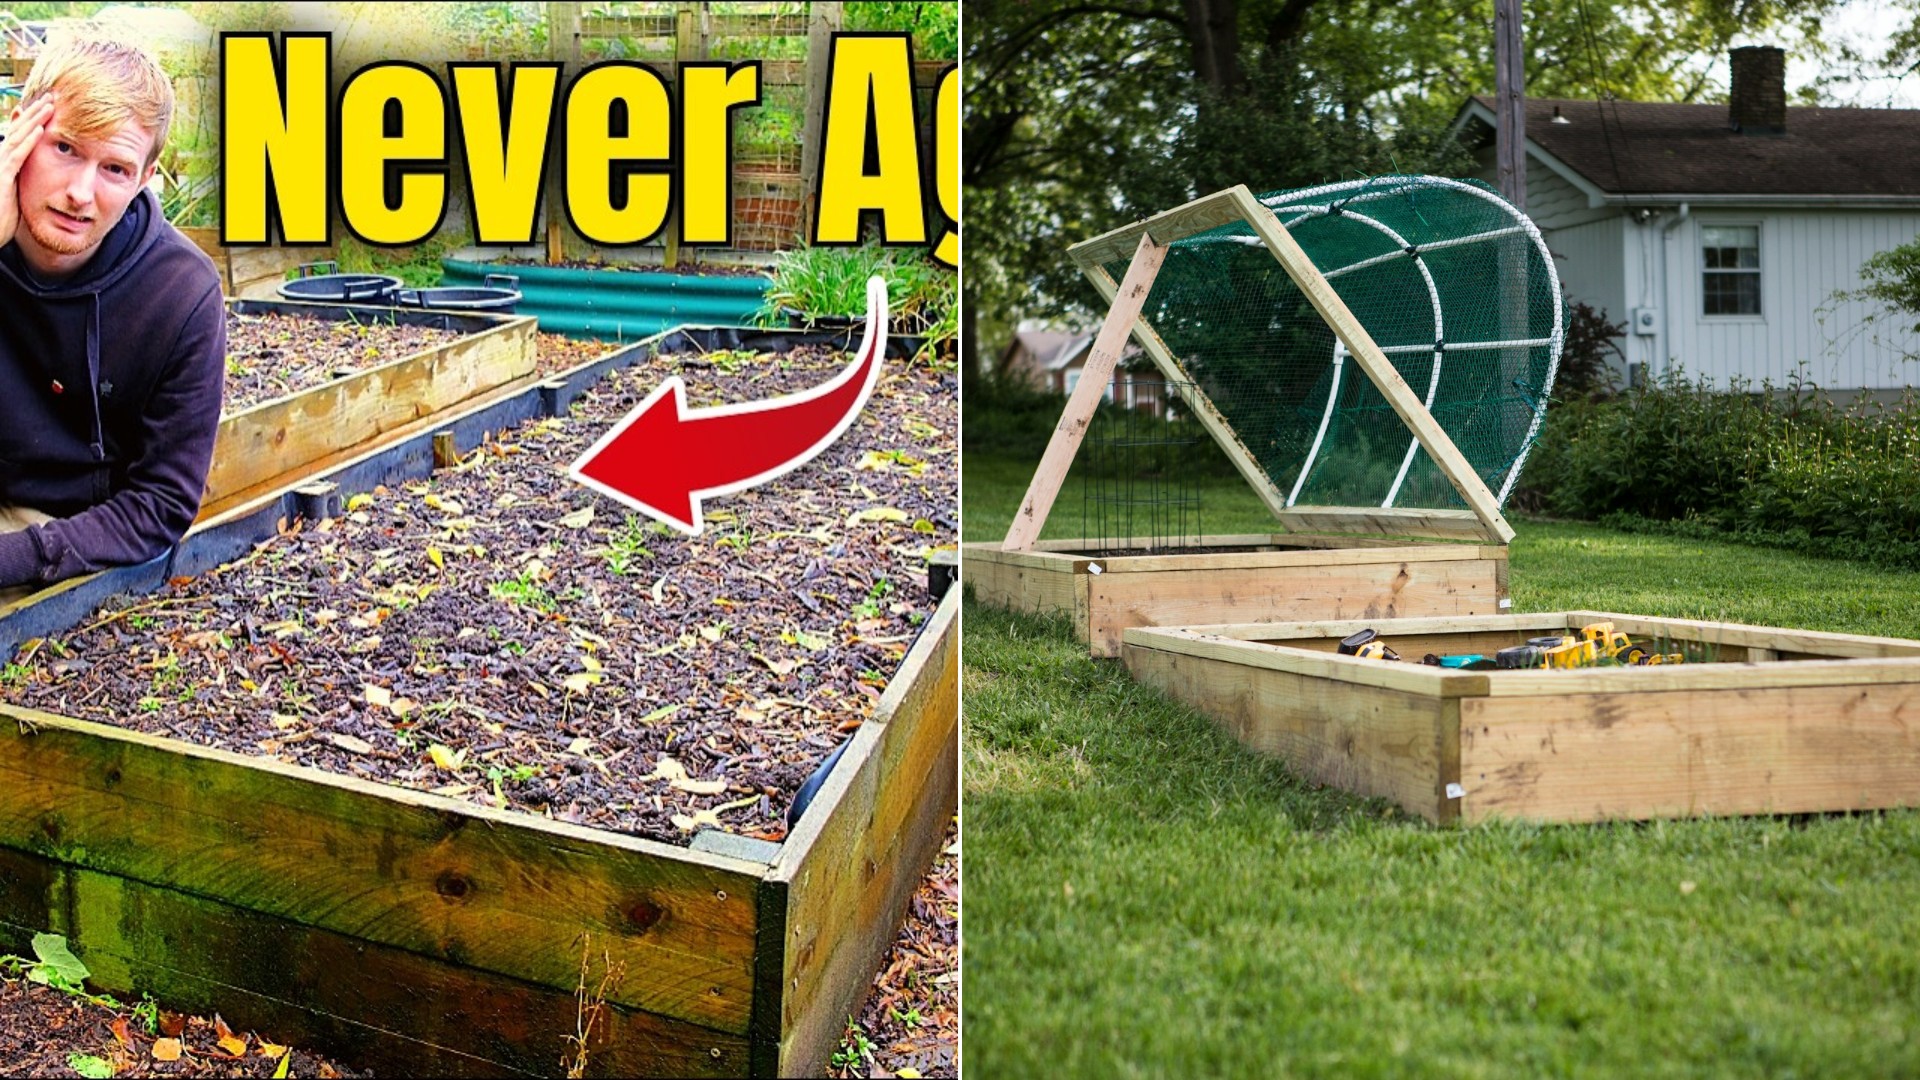
Jim has been growing in raised beds for the last 7 years, and he is the first to admit some of his mistakes have cost him time, money and a lot of unnecessary work.
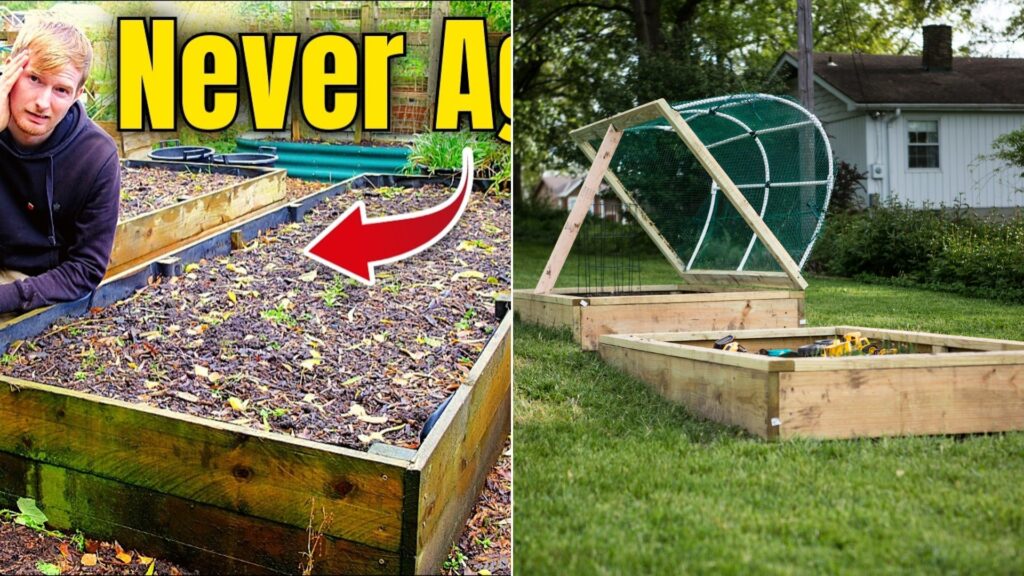
On his Down To Earth With Jim channel, he walks through what went wrong and what he would do differently if he were starting over.
The first surprise is right in front of him. Beds he built nearly a year ago, and filled almost to the top, have sunk so far that the braces he put in are now showing.
Soil Dropped By Half And Left His Rhubarb Stranded
Jim says whatever you fill a raised bed with, it will drop. It settles most in the first year or two, so he will top the beds up with compost or topsoil, and probably again the year after.
That is usually no problem. It becomes one when you plant perennials.
His rhubarb bed was filled to the top nearly 2 years ago, and the soil has since dropped by around half. The bed is now only about half full.
The trouble is that he cannot top it up without burying the crowns of the plants, which risks rotting them. The same goes for the strawberries in another bed.
The rhubarb itself has grown fine, with some really good crops this year. He will add a little horse manure around, not on top of, the crowns for nutrients. Next time, he says, he would plant rhubarb in open ground.
Three New Beds Filled For About 50 Quid While Bagged Compost Would Run “Hundreds And Hundreds Of Pounds”
The second mistake, Jim says, is spending an absolute fortune filling raised beds. He recently built three in his polytunnel. Two are 2 feet wide by 25 feet long, and the middle one is 4 feet wide by around 15 feet long. They are 12 inches high and hold several tons of material.
He says they cost him virtually nothing to fill. Lots of people did not believe him when he said so in an earlier video, and some thought he was lying. “I am telling the truth,” he says.
He used the Hugelkultur method, which layers organic material to cut the cost. He put in wood chip, horse manure, kitchen scraps and garden waste from last season’s spent crops. That made up around half of the material.
The rest was topsoil from another bed he was taking apart. He had bought that topsoil six or seven years ago when he took on his allotment, at about 30 quid for a ton.
Then he added a few bags of compost on the very top, maybe 20 quid worth. Total, around 50 quid, or about £50.
If he had bought bagged compost or even bulk bags to fill them, he reckons he would have spent about £500. He has heard of people buying bags from places like B&Q to fill raised beds and spending an absolute fortune.
About a year on, the manure, kitchen scraps and wood chip have partly or completely broken down into compost that will feed plants for years. He had a brilliant crop of tomatoes in those beds this year. Organic material also holds moisture well, so watering gets easier.
A Cheap Metal Bed Is Already Rusting And Bowing Before Its Second Birthday
Next, Jim says to think about how long a bed will last. A cheap raised bed might last 5 years, while spending a bit more could get one that lasts 10, 15 or even 20, especially metal ones that do not rust.
He has a budget metal bed that is just short of 2 years old, and it is already rusting. The panels are flimsy and starting to bow. Stronger metal beds of the same age show no rust and no bowing.
For wood, he recommends the thickest you can afford. Most of his beds use 1-inch wood, which lasts quite a few years, but a couple use 2-inch wood, and he expects those to last about twice as long.
Use screws, he says, ideally wax-coated rust-resistant ones. The weight of the material can pull nails out and let the sides come apart.
He also puts 3 by 2 inch battens on the corners, and says brackets work too. The most important thing is bracing on the sides. Several tons of material will push the sides outwards once rain soaks in, and without bracing they can bow and spill.
His polytunnel beds have metal rod braces, and the outdoor beds have stakes. A long bed he built years ago with no bracing at all bowed badly after a year or two. He calls that a rookie mistake.
For a cheap start, he says pallet wood beds have held up for over 3 years, and pallet collars are really good, just not as lasting as solid wood or metal.
He Built The Beds Too Close Together And Now Has To Twist His Body To Weed
Jim says another mistake is making beds awkward to work in. He suggests paths at least 2 feet wide so a wheelbarrow fits and you can crouch beside the beds.
He admits he put some of his too close together. In one, he has to lean down and twist his body to reach in.
On width, he says no wider than 4 feet if you can reach from both sides, and no wider than 2 feet if you can reach from only one. Most of his are around 3 feet wide. His favorite size is 3 by 6 feet. Some of his are 3 by 9 or longer, and he finds himself sprinting around them.
Location matters as well. Pick a spot with the most sun, not shaded by trees, and sheltered from wind.
Lining The Beds Gave The Slugs A Perfect Hiding Spot
Jim also regrets adding features without thinking through the downsides. He lined his outdoor beds with damp-proof membrane to protect the wood and keep chemicals from the treated wood out of the soil.
The gap between the wood and the membrane stays moist, and slugs love to hide there. Moisture gets trapped anyway, so rot can still happen. Next time, he would let the membrane overlap the top of the wood so rain cannot get in the gap, and he says to staple it down well. In a couple of his beds it was not secured properly, and the settling soil pulled it down.
His beds have open bottoms so soil life can move up and break down the organic layers. He says not to line the bottom unless you have a reason, such as mare’s tail or bindweed. If you do, he says the bed should be at least 18 inches deep.
What he did use was thick cardboard, two or three pieces deep. It breaks down in months and still held back bindweed. When he pulled the bindweed out, he says, it was like a big handful of spaghetti, and the beds were mostly weed free.
Plan For Water, Compost And Crop Rotation Before You Build
Jim’s last lesson is to think about the whole system. Will there be room for water collection for hot dry weather? How will you replenish nutrients each year, and do you have a way to compost? If you rotate crops, think about the size, shape and position of each bed.
Raised beds, he says, are not stand-alone projects. They are part of a wider system that needs to be maintained over the years.
More Stories You May Like
- Waiving The Home Inspection To Win A Bidding War Can Leave Buyers Facing Repair Bills Nobody Warned Them About
- Gardener Spots A Buy One Get One Free Deal On Small Spiraeas At The Garden Center And Snaps Up All Four They Had Left For Her New Garden Space
- Gardener Bought Candy Corn Spirea By Mail And Locally And The Colors Came Out So Different She Wonders If It Is Too Much Of A Pop
Leave a Reply