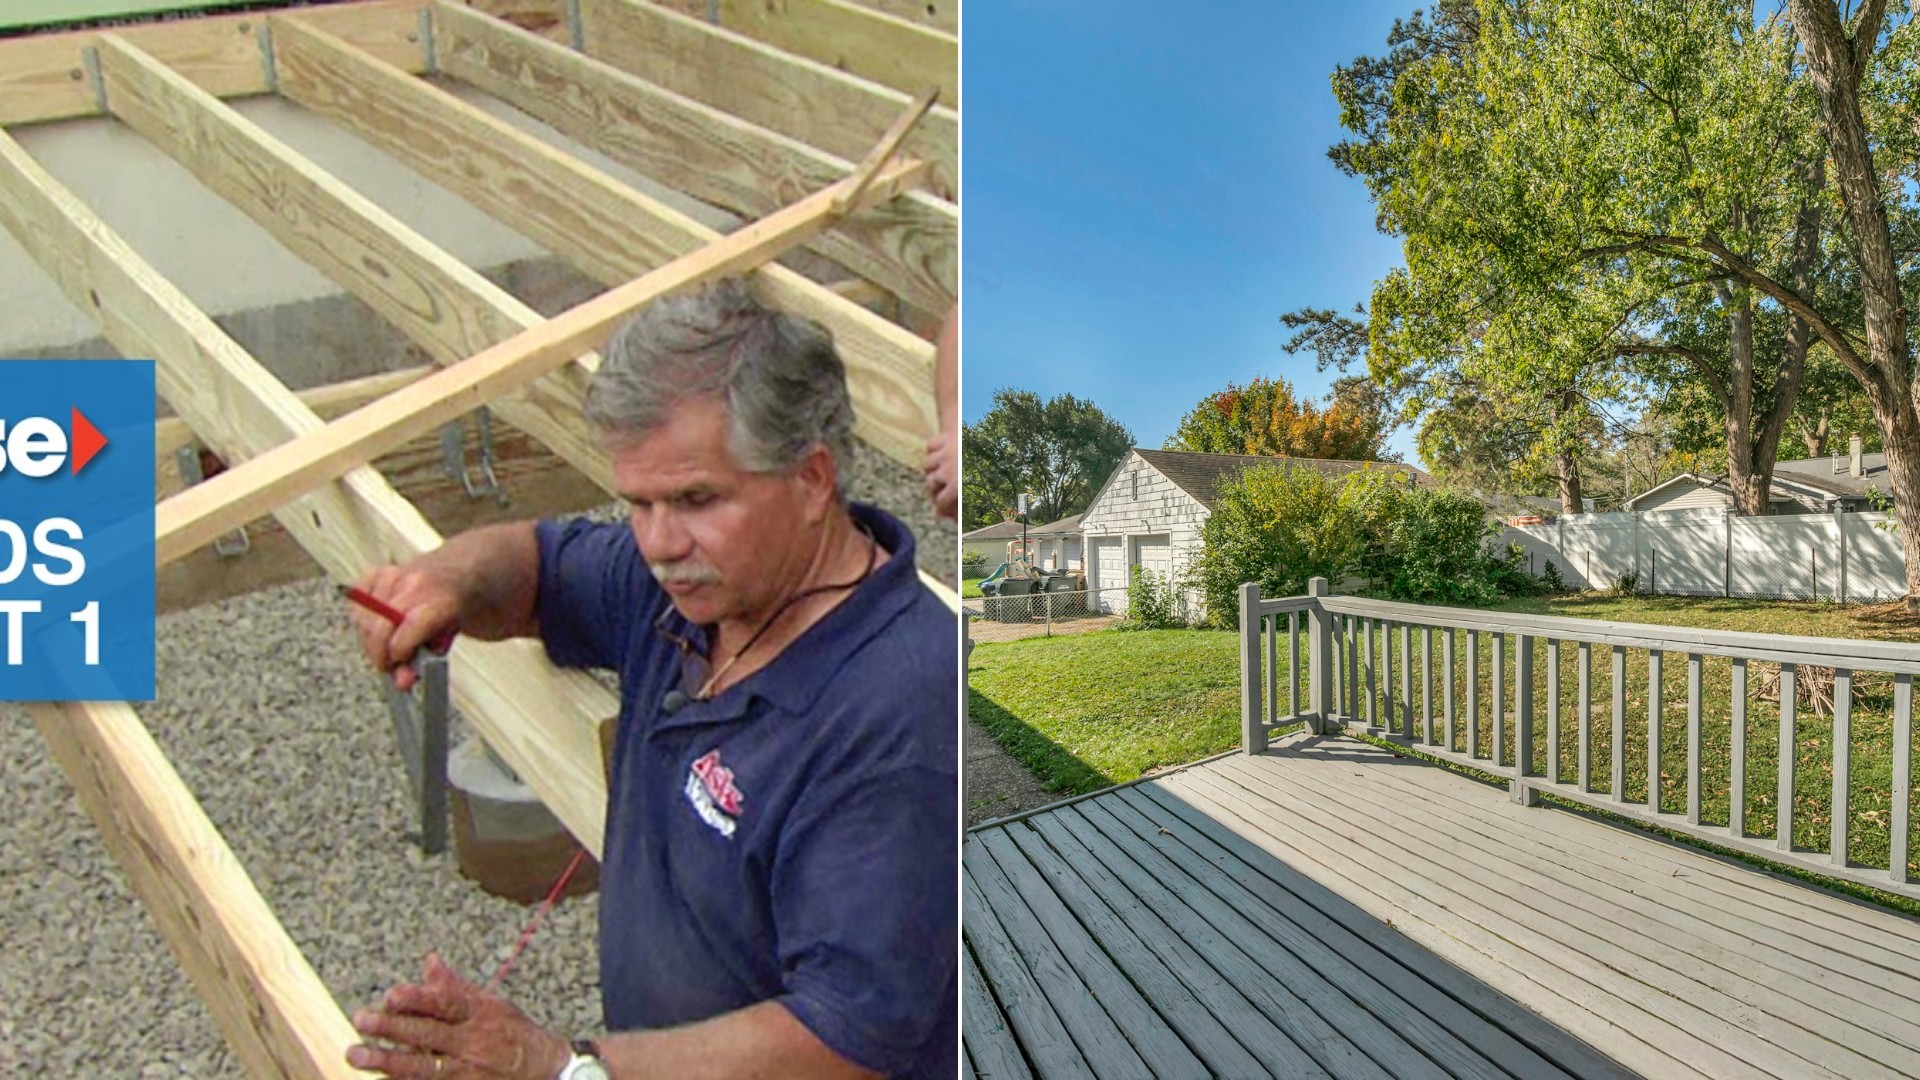
The old deck was rotted and not very stable, so a homeowner on This Old House decided it had to go. “This is what’s left of the old deck,” she says as the project begins.
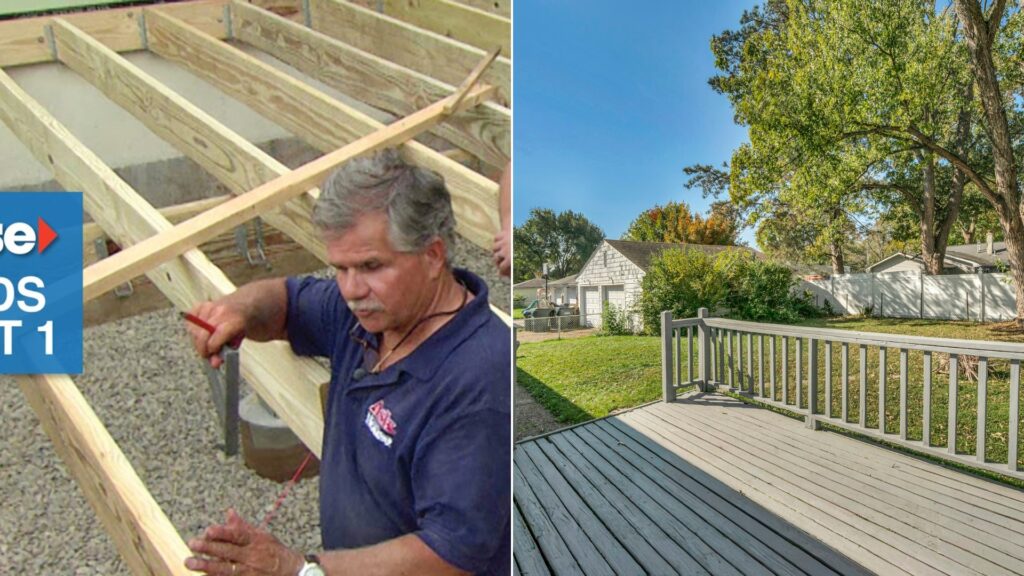
Tearing it out was a big job. What she had planned next was bigger. She had already painted the outline of a 20 by 20 foot deck on the ground, with an inset and stairs.
It would not be a simple one-level box either. The plan was a two-level deck, with an upper level for cooking and eating and a lower level for relaxing and lounging, joined by a diagonal step.
A Building Permit, A Survey And 12 Footings On The Plan
The pro on the job says building a deck means thinking about how to hang it on the house, how to support it in the ground, and getting a building permit.
The homeowner had already gone to the town for the permit. She also learned she had to get the property surveyed so the deck would not encroach on a neighbor’s land.
She drew her plan herself. It showed 12 footings to support the deck, green lines for the upper joists and blue lines for the lower ones, and a diagonal for the step.
The Pro Looks At The Plan And Says “You Don’t Need All Of These Columns”
Then the pro spotted something. The support beams are two 2 by 12s, and he says they will span 10 feet with no problem.
“You don’t need all of these columns,” he tells her. He drew a new rendering with fewer posts, less digging, less concrete and less formwork. The homeowner’s reaction was simple. “Sounds good to me.”
Batter Boards, String Lines And The 3-4-5 Trick For A Square Corner
The layout starts with batter boards set up outside the deck perimeter. Each is a couple of stakes in the ground with a horizontal board attached. They let the builder take a reference off the house.
He slides a string until it touches the foundation, which puts it in line with the house. Then he sets a parallel line 20 feet out. They use a level and plumb line against the siding, and Melissa measures from the level.
To make sure the corner is square, he uses the 3-4-5 method, doubled. Measure 6 feet along one line and 8 feet along the other. If the diagonal between the marks is 10 feet, the corner is square.
Three lines running parallel to the back of the house mark the support beams. Each needs posts underneath, so they marked the center of each line with tape and measured back 18 inches from the outside for another post. That lets the beam cantilever over the post.
A $400 Auger And A Hole 4 Feet Deep Because The Frost Will Lift The Deck
Digging by hand would take a couple of days. Instead the builder bought a small skid steer loader with an 18 inch auger that drills 48 inches deep. The auger rental was $400 for the day, with delivery and pickup.
One helper, Mark, says he is surprised the holes have to go that deep. The builder explains that in this part of the country the frost goes 4 feet down, so the code requires a minimum of 4 feet.
“If the frost should get under this column, it’ll actually pick the deck right up,” he says.
Each hole gets a 12 inch tube form made of recycled paper, lined up under the tape and backfilled evenly. But no concrete goes in yet. A building inspector has to measure every hole to confirm it is at least 4 feet below grade, and only after he signs off can anyone pour.
About 42 Bags Of Concrete Later, The Inspector Passed Them “With Flying Colors”
When the project resumes, the homeowner reports that the inspector checked the depth of each hole and passed them with flying colors.
She used a little over five bags of concrete per column, so about 42 in total. The builder’s tip is that the biggest trick with pre-mix concrete is the right amount of water. Not too wet, not too dry.
Next comes the connection between concrete and wood. Each column gets a pre-drilled hole and an expandable bolt, with a metal bracket and a flat plate on top. The plate holds the wood about an inch off the concrete so it does not sit in rainwater.
Ledger Board, Flashing And Staggered Lag Bolts
To attach the deck to the house, they remove the first course of siding. The builder replaces the metal flashing with self-sealing membrane flashing, tucked under the row above.
The pressure-treated 2 by 8 ledger goes up with a gauge block cut from a 2 by 4, so it does not push tight against the siding. He nails it temporarily and then fastens it with 6 inch lag bolts after pre-drilling with a 3/8 bit.
The bolts are staggered, one high and one low, rather than in a straight line. A straight line could split the board under the weight of the joists. Joists are spaced 16 inches on center in timber hangers.
The beam is two 2 by 12s, 20 feet long, sitting on 6 by 6 posts. The builder cuts a rabbet in the post for the beam, and cuts the top of the post at an angle so water running through the decking does not sit on it.
A laser level and a receiver that beeps when level help set the notch heights, since the concrete columns are not perfectly level and the beam must be. Galvanized carriage bolts and an impact wrench connect post and beam.
What To Take From This If You Are Planning A Deck
By the end of the day the upper deck was almost framed, and the homeowner was told to hang the joists for the lower level next.
- Get the permit and the survey before you dig.
- Have a pro check your footing plan. Bigger beams can mean fewer columns.
- Dig below the frost line, 4 feet in this builder’s area, and get the inspection before pouring.
- Use batter boards and the 3-4-5 method to keep the layout square.
- Flash the ledger, stagger the lag bolts and keep wood off the concrete.
More Stories You May Like
- Homeowner Suspects Her HOA Replaced Her Neighbor’s Porch Instead Of Hers After Her Own Rotted Porch Work Order Was Closed The Next Day
- Curling Shingles Granules In The Gutters And Stains On The Ceiling Are Roof Warning Signs Homeowners Ignore Until A Small Leak Becomes A Full Replacement
- 27 Year Old Software Engineer Making $300,000 Says Renting Out Two Units In His Own Building Is Miserable And Hosts Tell Him He Does Not Need To
Leave a Reply