If you have ever stuck a strip of roof tape on a sheet of sheathing and walked away feeling good about it, one barndominium builder has some bad news. The tape may not be doing its job at all.
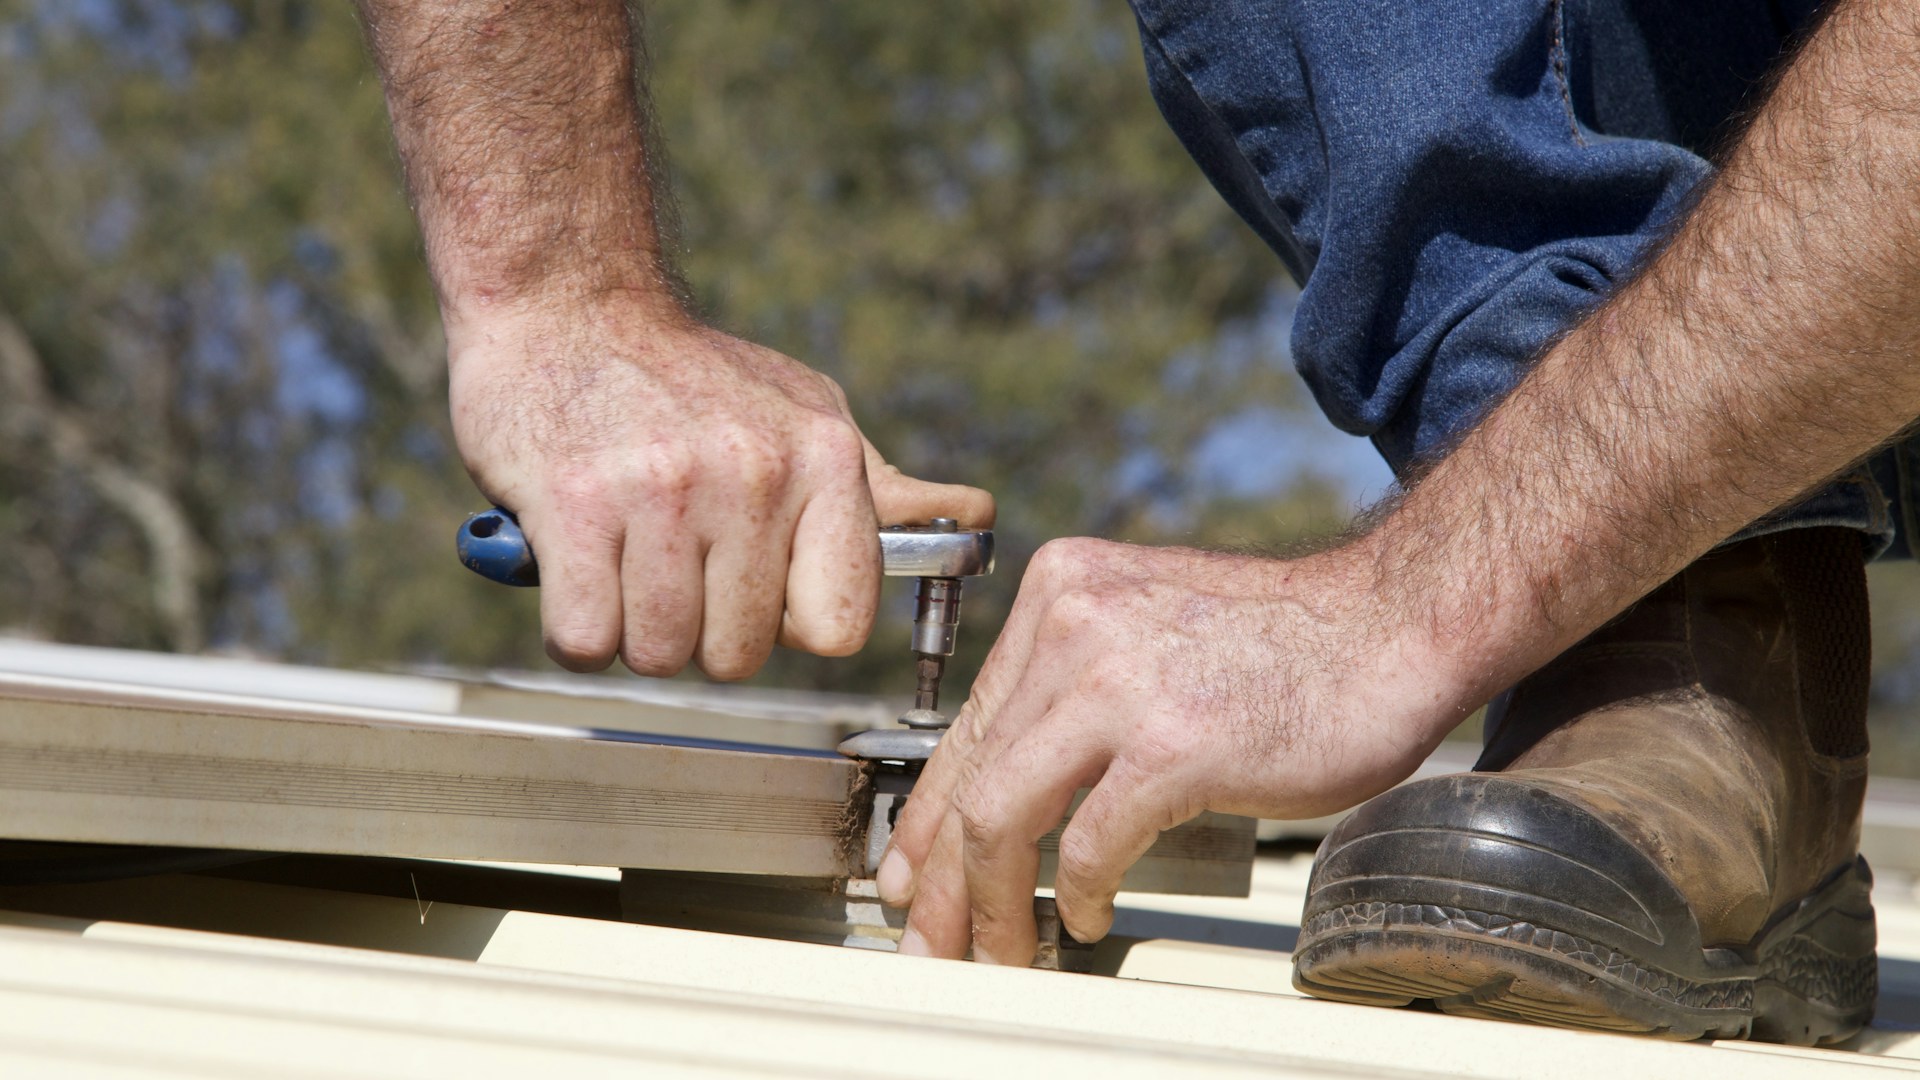
The builder behind @buildwithbuzz was framing the roof on a passive solar barndominium when the lesson came up. The most crucial step with ZIP System tape, the builder says, is that you have to roll it.
The reason is simple chemistry. The adhesive is a pressure-sensitive adhesive, and it needs the pressure and the heat generated by a roller to grab on properly.
“You Might As Well Not Even Use It” Without A Roller
The builder puts it bluntly. If you skip the rolling, “you might as well not even use it,” because the tape is not doing the job it was bought to do.
The tape is the standard 4-inch ZIP System tape, and it is what creates the continuous air barrier around the house. You start at the eave, the lowest point, and shingle the tape upward so each course overlaps the one below. That way water sheds from top to bottom.
For rolling, the builder went with the ZIP System J roller. It has a steel wheel with little Z’s on it that imprint the tape, which also helps track what has already been rolled.
The Roof Starts With Rafter Tails Left Long On Purpose
Before any tape went on, the framing had to happen. The builder ordered the BCI joists a couple of feet long with a plan to cut the tails off later and reuse the cutoffs as blocking.
The simplest method, found after trying a couple of approaches near the end of the roof, was to use a level to mark a plumb line. Then the builder buried the blade of a Sawzall for good control and cut everything off along the line.
It was a first for the builder, who had never framed a building this way. The approach came from research and from looking at how others had done it, and the result was a modified version of monopoly framing.
A Rim Board, Insulation And Sheathing Make The Edge
To cap the ends of the rafters, the builder used a BCI rim joist that is an inch and a quarter thick and 11 and 7/8 inches tall. It was tacked in place first, then secured with structural lags and toenailed into the top plate every 6 inches.
The finished edge stacks up in layers. There is the inch-and-a-quarter rim board, 2 inches of insulation, 7/16 of OSB, and the ZIP System sheathing with its built-in water and vapor barrier. The rafters sit taller than that stack so the roof sheeting lays across the top of the joists and meets the top of the sheeting.
The decking goes on after the overhangs are built, and then the whole roof gets taped. That sequence gives a continuous air barrier.
Blocking Spaced So The Second Sheet Lands Right
Inside, the builder cut each BCI cutoff down into a piece of blocking. A chalk line kept the rows straight, and a 12-inch speed square marked the top and bottom flange on each side.
The nailer was a Paslode XP 30-degree framing nailer loaded with 3-inch paper-taped nails. The first row of blocking sits 8 feet from the edge of the eaves so the second sheet of plywood lands on it.
Out on the roof, the builder used a pneumatic gun with 2 and 3/8 inch ring-shank hot-galvanized nails, since the roof would sit exposed all winter. The depth was set so nails go in only about a 16th of an inch past the surface, which is what ZIP wants. Edges got a nail every 3 inches for shear strength, and the field got one about every 6 inches.
The Smoke Hid A Whole Mountain Range
The back eave sits only a few feet off the ground, so the builder staged sheets there and walked them across. Little cradles on the eave held each course while the builder tacked two or three joists and then nailed the whole sheet off.
Smoke season made for a hazy backdrop. The builder says a mountain range about 20 miles away was completely invisible. Maple also found out that she could jump onto the roof from the ground out back, and came up to keep the builder company.
The decking is the ZIP System 5/8 roof sheathing. The plan is a metal roof before winter, and the builder says taped ZIP decking can sit in UV and weather for 6 or 8 months when it is sealed properly.
How To Tape A Roof So It Actually Holds
With the eaves done, the builder ran the verticals on the first course and repeated that for each course. Then came a full-length strip across to cover the butt joints, working upward and shingling so water always runs off.
Here is a quick checklist from the build.
- Start at the lowest point and overlap each course as you climb.
- Roll every inch of tape with a roller, since the pressure and heat set the adhesive.
- Set the nail depth so nails sit just past the surface, as the sheathing maker asks.
- Tape the seams, then keep checking that nothing has lifted before winter weather arrives.
When it was done, the builder called the roof taped up, sealed up and watertight. The bigger roof on the other side is twice the size, and the builder says five people finished it in a single day.
The channel is also shifting toward more do-it-yourself content, and the builder says plans are in the works for a video on why the ZIP R System was chosen for the house.
More Stories You May Like
- New Jersey Homeowner Says The Neighbor Who Acted Like The Project Manager And Brought Pastries To Her Builders Started Peering Through Her Windows
- New Build Inspection Finds Bent Window Screens, Screws All Over The Roof, A Leaking Grinder Pump And A Sewer Valve Turned Off Before Anyone Moved In
- Inspector Finds A Leaking Sewer Grinder Pump Next To A Power Outlet, A Crushed Water Meter And A Load Bearing Water Bottle In A Brand New Build
Leave a Reply