A plain, builder grade bathroom does not have to stay that way. One DIYer showed how three focused changes took a dated space and gave it a custom, vintage modern look: a new tub wall, a customized vanity and a wood plank ceiling.
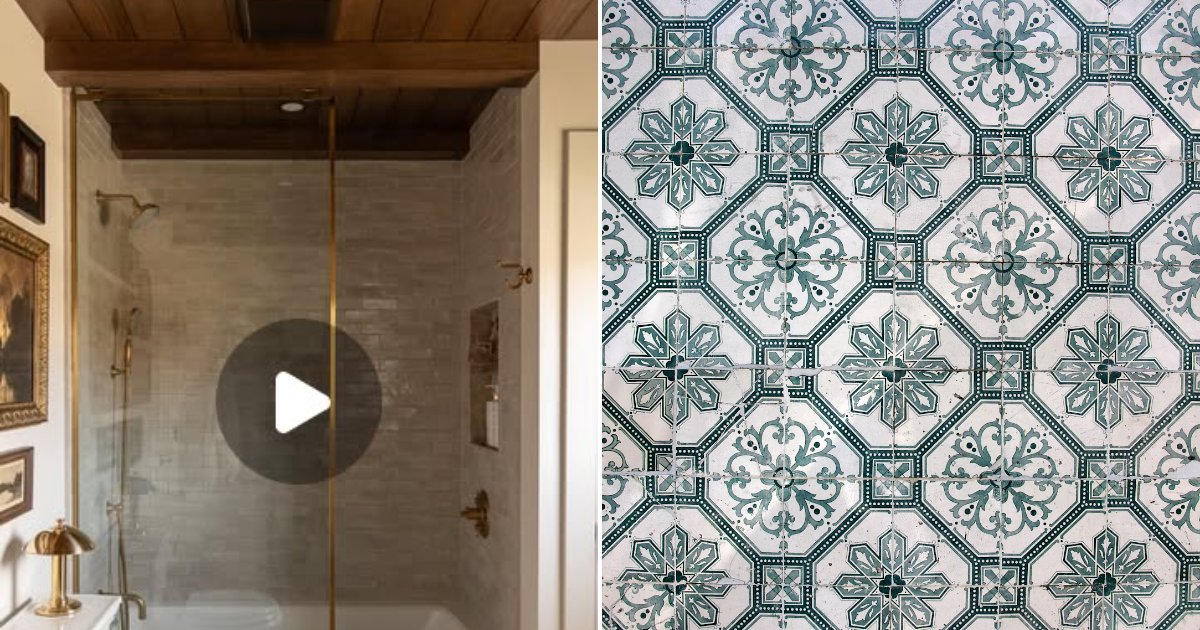
The makeover was shared by @hamiltonparkhome as three short, labeled steps with time lapse footage and finished shots. There is no narration, so the story below comes from the on screen titles and what the footage shows.
View on Instagram
Step one: ditch the tub surround
The first target is an outdated fiberglass tub surround. Two people demolish the drywall and remove the plastic surround all the way down to the wall studs. Then comes the rebuild: backer board, waterproofing and vertical, brick style beige tile. The finished tub alcove has glass doors with gold frames, vintage style brass plumbing fixtures and marble apron trim.
Step two: customize a stock vanity
Next up is a generic dark wood vanity and a standard mirror. The homeowner, joined by her dog, removes the old vanity to expose the plumbing lines. In its place goes a new fluted wood vanity topped with a custom curved marble backsplash. The upgrades continue with a brass wall mounted faucet, fluted tube sconces and a vintage style brass accent mirror, which is hung with care.
Step three: plank the ceiling
The last change looks up. The plain white drywall ceiling and exhaust fan are replaced with something far warmer. In her workshop, she stains wood planks and assembles faux ceiling beams, then fastens stained boards and beams to the ceiling using a brad nailer from a stepladder. Recessed lights are integrated, and sweeping shots of the dark wood ceiling show how it ties together the whole bathroom.
Costs, product names and the time each step took are not shared, so anyone copying the look will need to price it out on their own.
What to take from this bathroom
- Pick a few high impact changes rather than redoing everything. Walls, vanity and ceiling cover the biggest surfaces in the room.
- Waterproof carefully. If you replace a tub surround, use proper backer board and a waterproofing layer before tile goes on.
- Dress up a stock vanity with a new counter or backsplash detail so it feels custom.
- Mix finishes on purpose. Brass fixtures, marble trim and stained wood work well together because they share a warm tone.
- Do not forget the ceiling. A planked or beamed ceiling adds depth, but check that materials are suitable for a humid room and that fans and lights stay accessible.
The takeaway is that a bathroom can feel designed without being rebuilt from scratch. Three thoughtful changes were enough to go from basic to beautiful.
How a tiled tub wall is built
A tiled shower or tub wall is a layered system. Studs are covered with a backer board made for wet areas, then seams are sealed and a waterproofing layer is applied before any tile is set. Tile and grout are water resistant but not waterproof on their own, so the hidden layers do the real protecting. Caulk, rather than grout, belongs wherever two planes meet or where the tile meets the tub.
Humidity and wood ceilings
Bathrooms produce a lot of moisture, and wood absorbs it. If you want a planked ceiling, choose a species and finish suited to damp rooms, seal all sides of the boards, and make sure the exhaust fan is sized for the room and vents to the outdoors rather than into the attic. Running the fan during a shower and for a while afterward helps keep moisture in check.
Common questions
Do brass fixtures need special care? It depends on the finish. Lacquered brass is sealed and stays bright, while unlacquered brass develops a darker patina over time. Some people love that aged look, and others prefer to polish it back. Check the manufacturer’s care instructions before cleaning.
Can any light go in a bathroom ceiling? No. Fixtures above a tub or shower need a damp or wet rating, and outlets near water need ground fault protection. Electrical work should follow local code, and a licensed electrician can help if you are unsure.
What is a fluted vanity? Fluting means a pattern of narrow, parallel vertical grooves. It adds texture to cabinet fronts and is a popular way to make a stock piece look custom.
Try this at home: plan a three change bathroom update
- Walk through the room and pick the three surfaces that dominate it, such as a wall, a cabinet and the ceiling.
- Choose a limited palette of finishes, such as one metal, one stone and one wood tone.
- Check the plumbing and electrical locations before you decide on new fixtures.
- Order samples and view them in the room at different times of day.
- Work in order: demolition, rough work, waterproofing, tile, then vanity, lighting and finishing touches.
Credit for the original post goes to @hamiltonparkhome on Instagram.
More from Willow and Hearth
- This Dilapidated, Gutted House Underwent a Jaw Dropping $55,000 Transformation Into a Fully Furnished Modern Home
- This Couple Completed a Full DIY Kitchen Renovation and Is Calling Their Transformation Their Magnum Opus
- Brand new home came with nothing but plain beige walls and a blank drywall box until one homeowner’s vision turned the exact same space into something unrecognizably cozy
Leave a Reply