There are planners, and then there are people who look at a bedroom wall, announce that winter is coming, and decide the room needs a fireplace by next week. One DIYer fits firmly into the second group. With a roll of tape, a sledgehammer and a garage full of power tools, she set out to build a fireplace from an idea taped on the wall to a real structure.
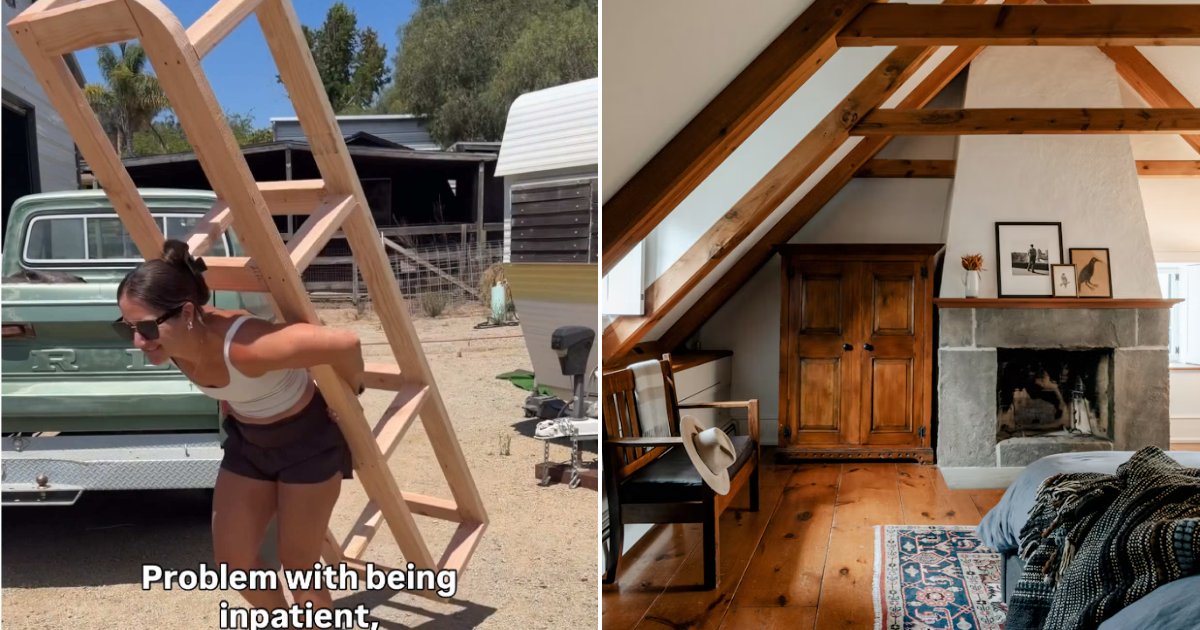
The build is documented by @nailgun.nelly, who shows each step with short captions instead of a voiceover.
@nailgun.nelly
Taping out the design
The project begins in a bedroom corner, where a woman playfully holds a sledgehammer while a man takes the mounted television off the wall. A caption admits she is winging it, so the first step is to tape the outline of the design directly on the floor and wall. With a snap of her fingers, the drywall in that area is gone, stripped down to the wall studs. The text sums up her attitude: time to rip the wall down.
Taping a shape on the wall is an old designer trick that is worth copying. It lets you see the width, height and proportions in the actual room before you commit to cutting anything.
Building the pieces in the workshop
The heavy work happens in a garage workshop equipped with power tools and a large table. Wearing safety glasses and ear protection, she builds wooden frames for the hearth and then for the middle section of the fireplace. Building in separate sections is a smart choice. It keeps each piece manageable, allows precise work on a bench and means the parts can be carried through doors and hallways.
Carrying them is part of the story. She hauls the large frame outside across the driveway, up the porch stairs and through the hallway into the bedroom, with a caption admitting that the problem with being impatient is that she never waits for help. It will be worth it though, she adds. Later, she cuts curved plywood sides with a jigsaw and assembles the top chimney hood, then makes one more haul to the bedroom.
Securing the frame and prepping for the finish
Back in the bedroom, the sections are secured to the wall studs, a step that keeps a tall, heavy structure steady. The last section goes in, and the studs are covered with cement board. The final caption asks whether the fireplace should be finished with brick or stone, which leaves the finish as the next chapter of the build.
What to know before building a fireplace surround
- Decide first whether the fireplace will be decorative or will hold a heat source. Anything that produces heat has strict clearance requirements, and you should follow the manufacturer’s instructions and local code closely.
- Use noncombustible materials, such as cement board, where required around a firebox or insert, and keep wood framing away from hot surfaces.
- Electric fireplace inserts need power, and gas or wood burning units require proper venting and installation. Those parts of the job are best handled by licensed professionals.
- Anchor tall structures to studs, as she did, so they cannot tip.
- Wear safety glasses and hearing protection with a jigsaw, saw or nail gun, and clamp your work firmly before cutting curves.
- Do not overlook weight. Real brick or stone is heavy, so check that the frame and wall can support it, or consider lightweight veneer.
Brick or stone?
The question she leaves open is a classic design decision. Brick gives a warm, traditional look and works well in cozy rooms. Stone can feel more rustic or dramatic, depending on color and shape. Thin veneers are lighter and easier to install than full thickness masonry, which helps in a bedroom where the floor and walls were never designed to carry a masonry fireplace.
Common questions
Can you add a fireplace to a bedroom without a chimney? An electric model needs no chimney, but anything that burns fuel needs proper venting and code compliance, so talk to your local building department first.
Do you need a permit? It depends on where you live and what you are building. Wall removal and any electrical or gas work may need a permit, so it is worth a quick call.
Is it okay to remove drywall and leave studs open? Yes, but check for wiring and plumbing before you cut, and never remove a load bearing wall without a professional’s guidance.
Takeaways
This build shows how much can be accomplished with a clear sketch, a good workspace and the nerve to start. Work in sections, secure everything to studs, respect heat and electrical requirements, and take the finish step by step. A bedroom can become the coziest room in the house when the project starts with a simple decision that winter is coming.
Credit for the original post goes to @nailgun.nelly on TikTok.
Leave a Reply