A contractor looked at a small patch of driveway beside the house and quoted over $1,500 to pour a concrete pad for the garbage bins. The pad was just 3 by 5 ft. Home repair creator Home Rapid Repair decided that was far too much money for a slab that small, so he rolled up his sleeves and did it himself.
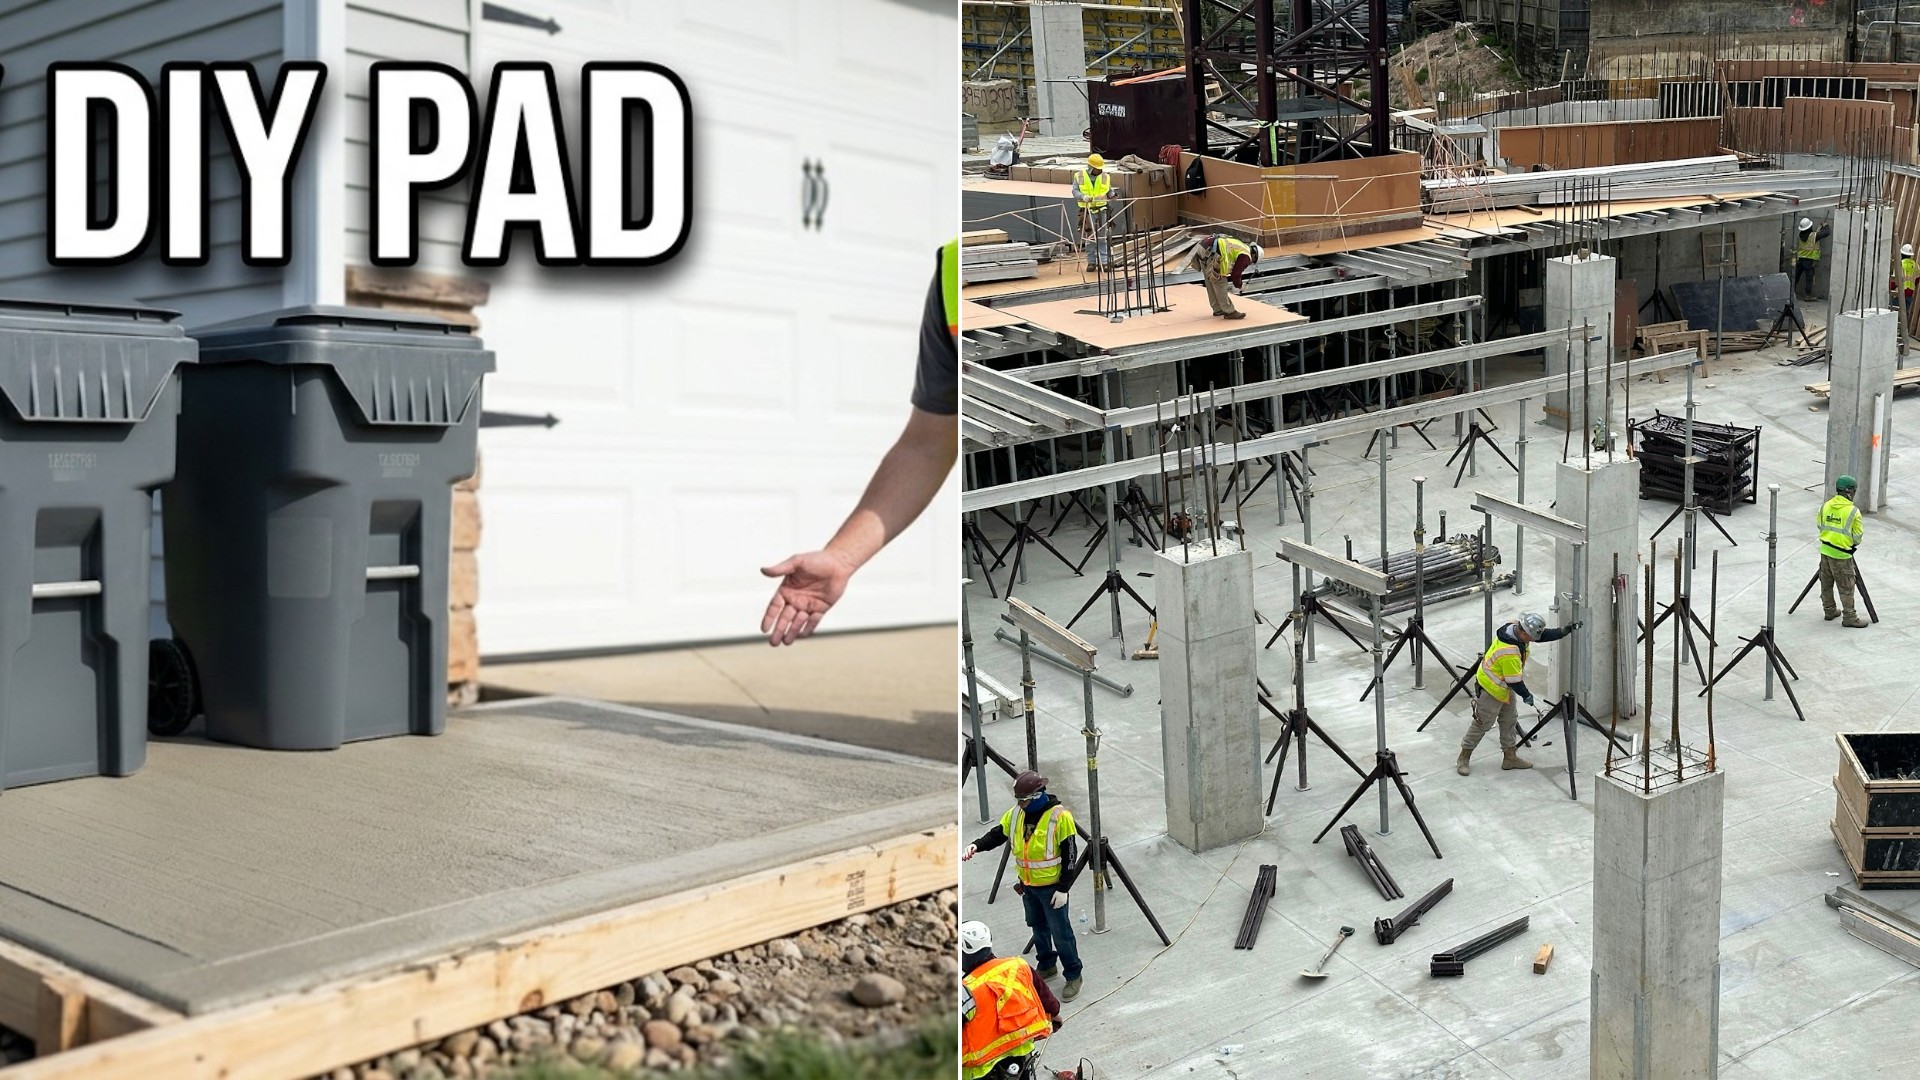
His total came to about $100 in concrete and about $20 for a paddle bit, which works out to roughly $120. He says he already owned the drills and just about everything else, and he puts the wood for the forms at 10 or 15 dollars depending on the size of the pad. His own math is that doing it yourself saves about 10 times your money.
Start With A Solid Form
The first job is building the frame, or form, that holds the wet concrete in place. He used 2×4 lumber, which gives a slab about 3 and a half inches thick. He notes that the manufacturers on the bag sometimes call for 4 inches to 6 inches, but he says three and a half works fine for a small pad, and you can dig down deeper if you want it thicker.
Before any concrete goes in, he says, clear away the grass and every bit of organic material until you hit dirt. Concrete should never be poured over grass or roots. He then lays down a separator between the soil and the slab, either drainage stone or sand, and tamps it down. The pad also needs a gentle slope away from the house so water drains the right way, and he matched the slope of the existing driveway.
Two small tricks stood out. Coat the inside of the 2×4 forms with WD-40 or any household oil, because otherwise the concrete will not release and you will have a mess on your hands. And stake the form so it cannot shift, setting the stakes below the top edge so they do not catch the board you drag across the surface to level the concrete.
Do You Need Metal Inside?
He says metal mesh is honestly not needed for a small slab like this one. Concrete is very strong when pressed downward, which is why you can drive cars over it, but it is weaker when pulled sideways. If you live where the seasons are extreme, he suggests rebar, metal mesh, or a bag mix that already has fiber reinforcement in it so no metal is needed at all.
If you do use rebar, plastic zip ties can hold it together, with the extra tails snipped off. Small plastic feet, sold near the rebar and mesh in home improvement stores, keep the metal centered in the slab so it never pokes out the edge.
The Bucket And Drill Mixing Trick
This is where he saves the most sweat. Mixing more than a bag or two by hand in a wheelbarrow, he says, is a nightmare that makes you vow never to do it again. His answer is a paddle bit on any corded or cordless drill and a few 5-gallon buckets. A half bag mixes in less than about a minute.
Those 80 lb bags are heavy and awkward, and he says they will hurt your back. His fix is to lay a bag halfway over a shovel handle, cut with a knife and lift in the middle, which leaves you two easier half bags of about 40 lbs each. A full 80 lb bag calls for roughly 3 L of water, so he went a little under half of that, about 1.25 L, for each half bag. Put the water in the bucket first, he says, or the concrete will stick to the bottom.
He wants the mix to look like lumpy oatmeal that holds its shape when you pick some up. Too much water makes it runny, and he points out that this is the trouble with wheelbarrow mixing, because people add a ton of water just to make it workable. The bucket method gives the right amount every time. He also warns that concrete is extremely dusty, so wear a dust mask and keep your face out of the bucket.
Drills can bog down under too much weight, so he suggests sticking to 30 to 40 lbs of mix and water per bucket, or buying a concrete mud mixer or a more powerful drill.
How Many Bags Will You Need?
His pad, 15 square ft at 3 and a half inches thick, took eight bags of 80 lb mix. He recommends the calculator at calculator.net or the Quikrete calculator, which tell you how many 60 lb or 80 lb bags a slab of any size and shape will take.
He also offers a simple rule of thumb for mixing method:
- One to three bags: wheelbarrow and hoe.
- Three to 10 bags: 5-gallon buckets with a drill and paddle.
- 10 to about 40 bags: buy or rent an electric mixer.
- More than about 40 bags: order a delivery truck.
Finishing And Curing
Once the concrete is in the form, he bangs on the sides with a hammer to knock out air pockets, which prevents honeycombing and rough edges. An edger rounds the edges so they are not sharp. Most people finish with a broom, he says, and he used a damp but not dripping broom with one light drag, which gives a traction surface and hides small flaws.
Then comes the waiting. He lets the slab cure for 24 hours before pulling the forms. Foot traffic is usually fine after 24 hours, and vehicles need multiple days. He backfilled around the edges with decorative gravel, and the finished pad now has a home waiting for two garbage bins side by side.
The lesson for homeowners is plain. A tiny pour does not have to cost as much as a used appliance. With basic tools, a few buckets and a free afternoon, a small pad can come in near $120 instead of over $1,500, provided you prepare the ground, oil the forms and let the concrete cure properly.
More Stories You May Like
- She Hid A Pencil Box Time Capsule In Her Laundry Room Wall Around 2004, A Renovating Family Found It, And Somehow The New Owner Is Taking Over The Moms In Prayer Group Her Mother Started
- Builder Said Trust Me About This 2026 New Build And Then The Inspector Found Sticking Doors, Ants And A Bathroom Door That Will Not Shut
- Homeowner Suspects Her HOA Replaced Her Neighbor’s Porch Instead Of Hers After Her Own Rotted Porch Work Order Was Closed The Next Day
Leave a Reply