Every tile setter has a moment like this. You cut a hole in the shower wall board, step back, and realize it is in the wrong place. In a tutorial on the Home Repair Tutor channel, the host admits he overcut a hole in foam backer board, and then shows how a few simple tricks, including a $10 Schluter mixing valve seal and a patch cut to size, made the wall solid again.
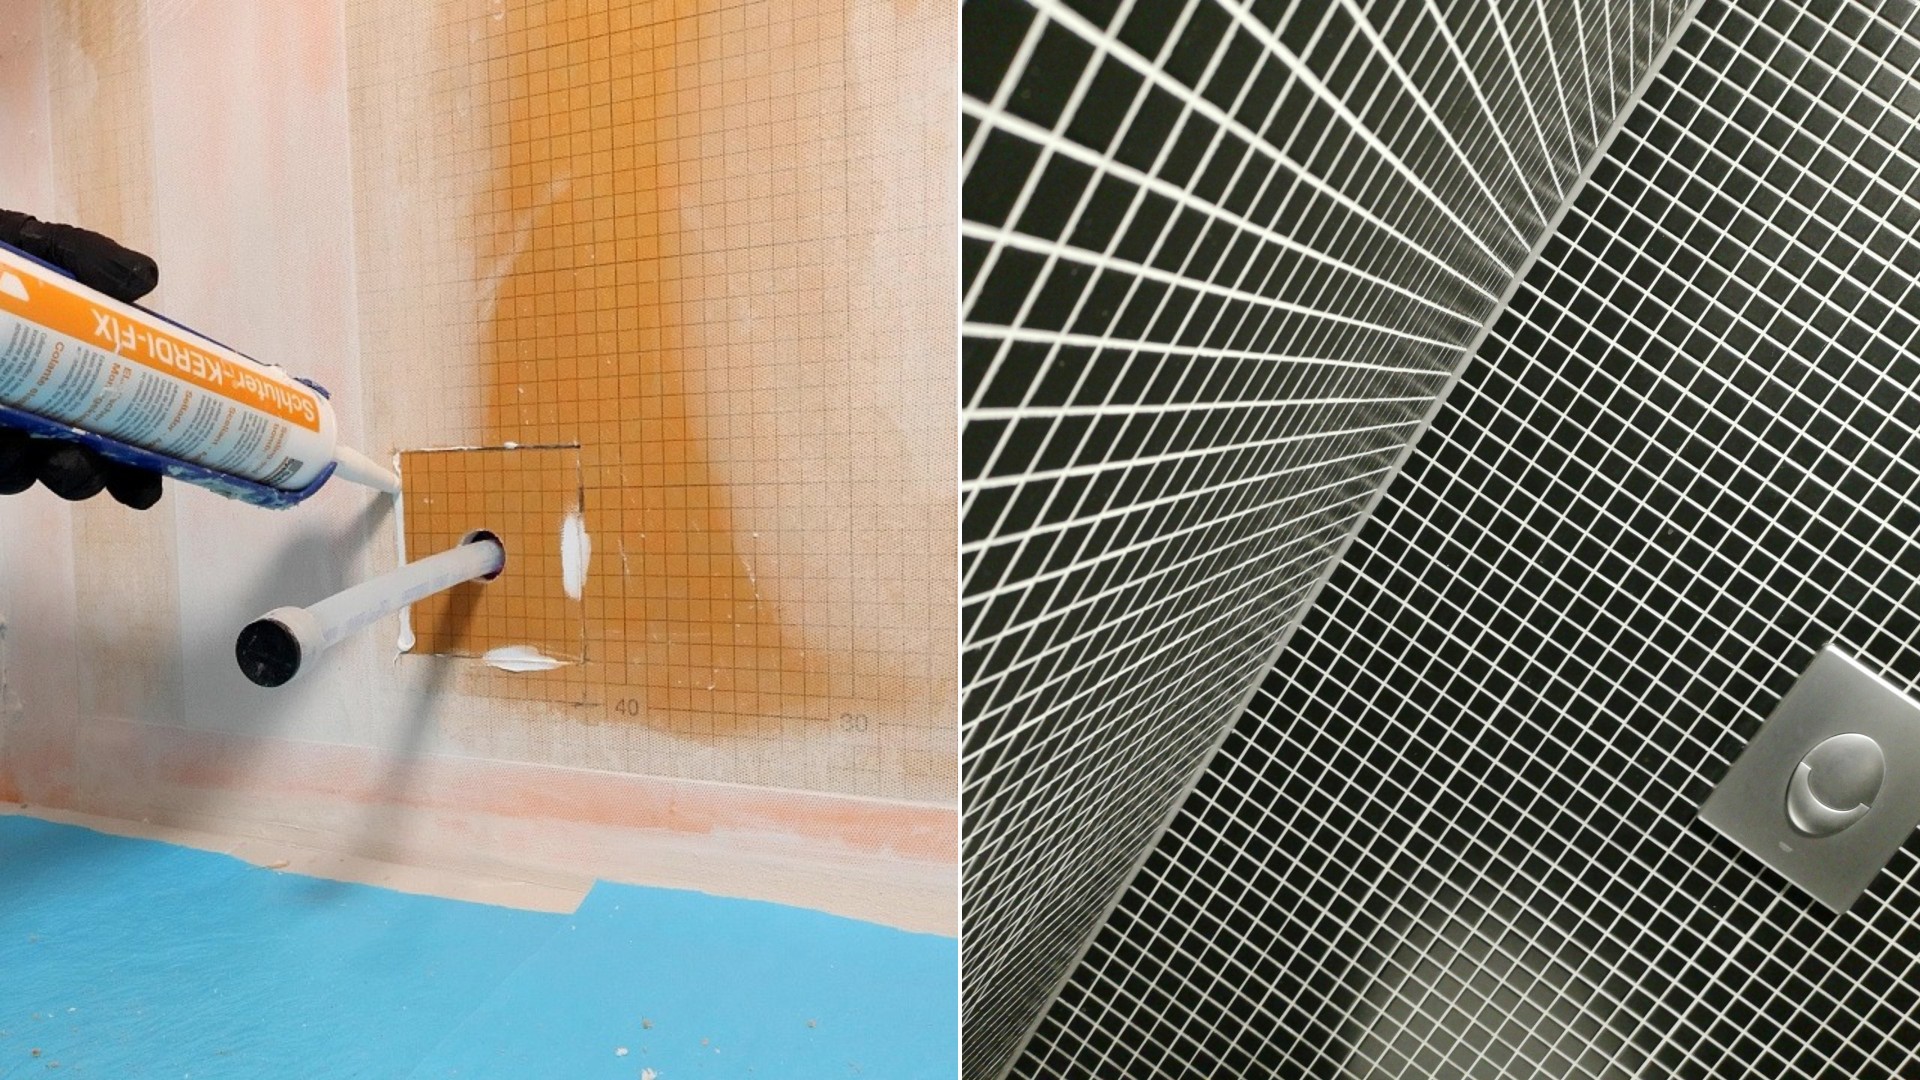
“Mistakes happen on projects,” he says. He has four different tips for fixing a foam board problem, and they cover everything from a hole around a pipe to an oddly shaped shower valve.
He begins with a hole that was not centered over the PEX tubing near a toilet, which is not inside the shower.
Tip One: A Cut To Size Patch
The fix starts with the piece he removed. He scores the board with a utility knife to get a square cut, then cuts through the rest of the way. His one warning is to make sure nothing is inside the wall, like plumbing, that you could cut and cause a leak.
The old piece becomes the template. He lays it over a spare piece of the same board, draws the lines with a pencil and cuts with the utility knife. He also uses it to mark where the hole for the PEX tubing goes. For that hole he likes a spade bit or a Forstner bit, anything with a pilot bit so he can go through from the back as well, which gives a clean circle.
Gluing It In Without Fasteners
For the next step he uses an adhesive made for this system. He applies a bead of about a quarter inch to the inside exposed edge of the board that is already fastened to the studs. He cut the patch about an eighth of an inch smaller around the perimeter, so it can bond to that bead. He presses the patch as flush and flat to the wall as he can and does not fasten it to any studs, since that is not necessary.
Then he adds extra adhesive along the seams and flattens it with a 2 inch plastic trowel. He is clear that this adhesive is for bonding, not waterproofing. If he wanted to waterproof the repair, he could use a waterproofing band and overlap the seams by at least 2 inches. Once it cures, the patch is strong enough to tile right over.
Tip Two: A Hole In The Wrong Spot Inside The Shower
On a different project, he cut a hole in the wrong position inside a shower. He says it is not a big deal. He mixes a thin set mortar to a membrane consistency, following the instructions on the bag, and spreads it on the board with a 3 inch joint compound knife. A notched trowel then gives him the right height for the mortar, which he describes as essentially a gauge.
Next, he slides a pipe seal over the brass nipple and compresses it into the mortar, first by hand and then with the knife. The goal is to make it as flat as possible so it does not interfere with the tile. A sponge removes any excess mortar. If the first two steps are done right, he says, there is very little buildup, and the brass nipple can still be removed for the shower arm later.
Tip Three: A Schluter Mixing Valve Seal
Another common mistake is overcutting the board around a mixing valve. His example is a valve where the opening is a little too wide on the left. The solution is a Schluter mixing valve seal that costs about $10, and he stresses it is not expensive.
A half inch rubber gasket goes inside the wall to cover the exposed edge of the foam board, a feature many foam board products have. He applies thin set with the 3 inch knife and then the trowel at a 45 degree angle. The seal does several jobs. It covers the exposed edge and keeps vapor from getting into the board, and it diverts water away from the valve if water gets behind the tile. He also removes excess mortar with a sponge, which matters most if you are using small tiles like 3 by 6 subway tiles.
Tip Four: Odd Shaped Valves
For an oddly shaped valve where the cut went wrong, he first tapes over the screw holes. He uses the template that came with a Delta R22000 shower valve to cut the shape out of a piece of waterproofing membrane that fits around the valve. A bead of adhesive, roughly a quarter inch, goes around the entire black plaster guard, because thin set alone will not bond the membrane to plastic. Thin set goes on the wall around the rest of the valve.
If you need relief cuts in the membrane, he says, you can make a quarter inch slice at the four corners, then place it over the valve and compress it as tight as possible. The most important part is sealing, so he presses the membrane against the plaster guard with the joint compound knife, removes the excess and makes the membrane as flat as possible.
A Bonus Tip For Setting Tile
When the tile goes on, he tries to make it as flat as possible so any rubber gasket on the valve trim seals properly against the wall. That is not always the case with cheap valves. If water gets behind the trim, the methods he shows should send it into the drain. The key, in his words, is making sure the shower functions properly, and being able to repair the board is a key part of that.
- Check for plumbing before you cut anything.
- Keep the removed piece to use as a template.
- Use bonding adhesive for the patch and a waterproofing band if the area needs it.
- Press mixing valve seals flat and sponge off excess mortar before it dries.
The takeaway for anyone building a shower is that an overcut hole does not mean tearing out the wall. A careful patch, the right adhesive and a $10 seal can save the job.
More Stories You May Like
- She Hid A Pencil Box Time Capsule In Her Laundry Room Wall Around 2004, A Renovating Family Found It, And Somehow The New Owner Is Taking Over The Moms In Prayer Group Her Mother Started
- Termite Inspector Wearing Smart Glasses Pokes One Board On A Torrance Home And Droppings Pour Down Like A Waterfall
- Skipping Primer Buying Cheap Rollers And Painting Without A Sample Patch Is How Homeowners Pay For The Same Wall Twice And The Fixes Are Easy
Leave a Reply