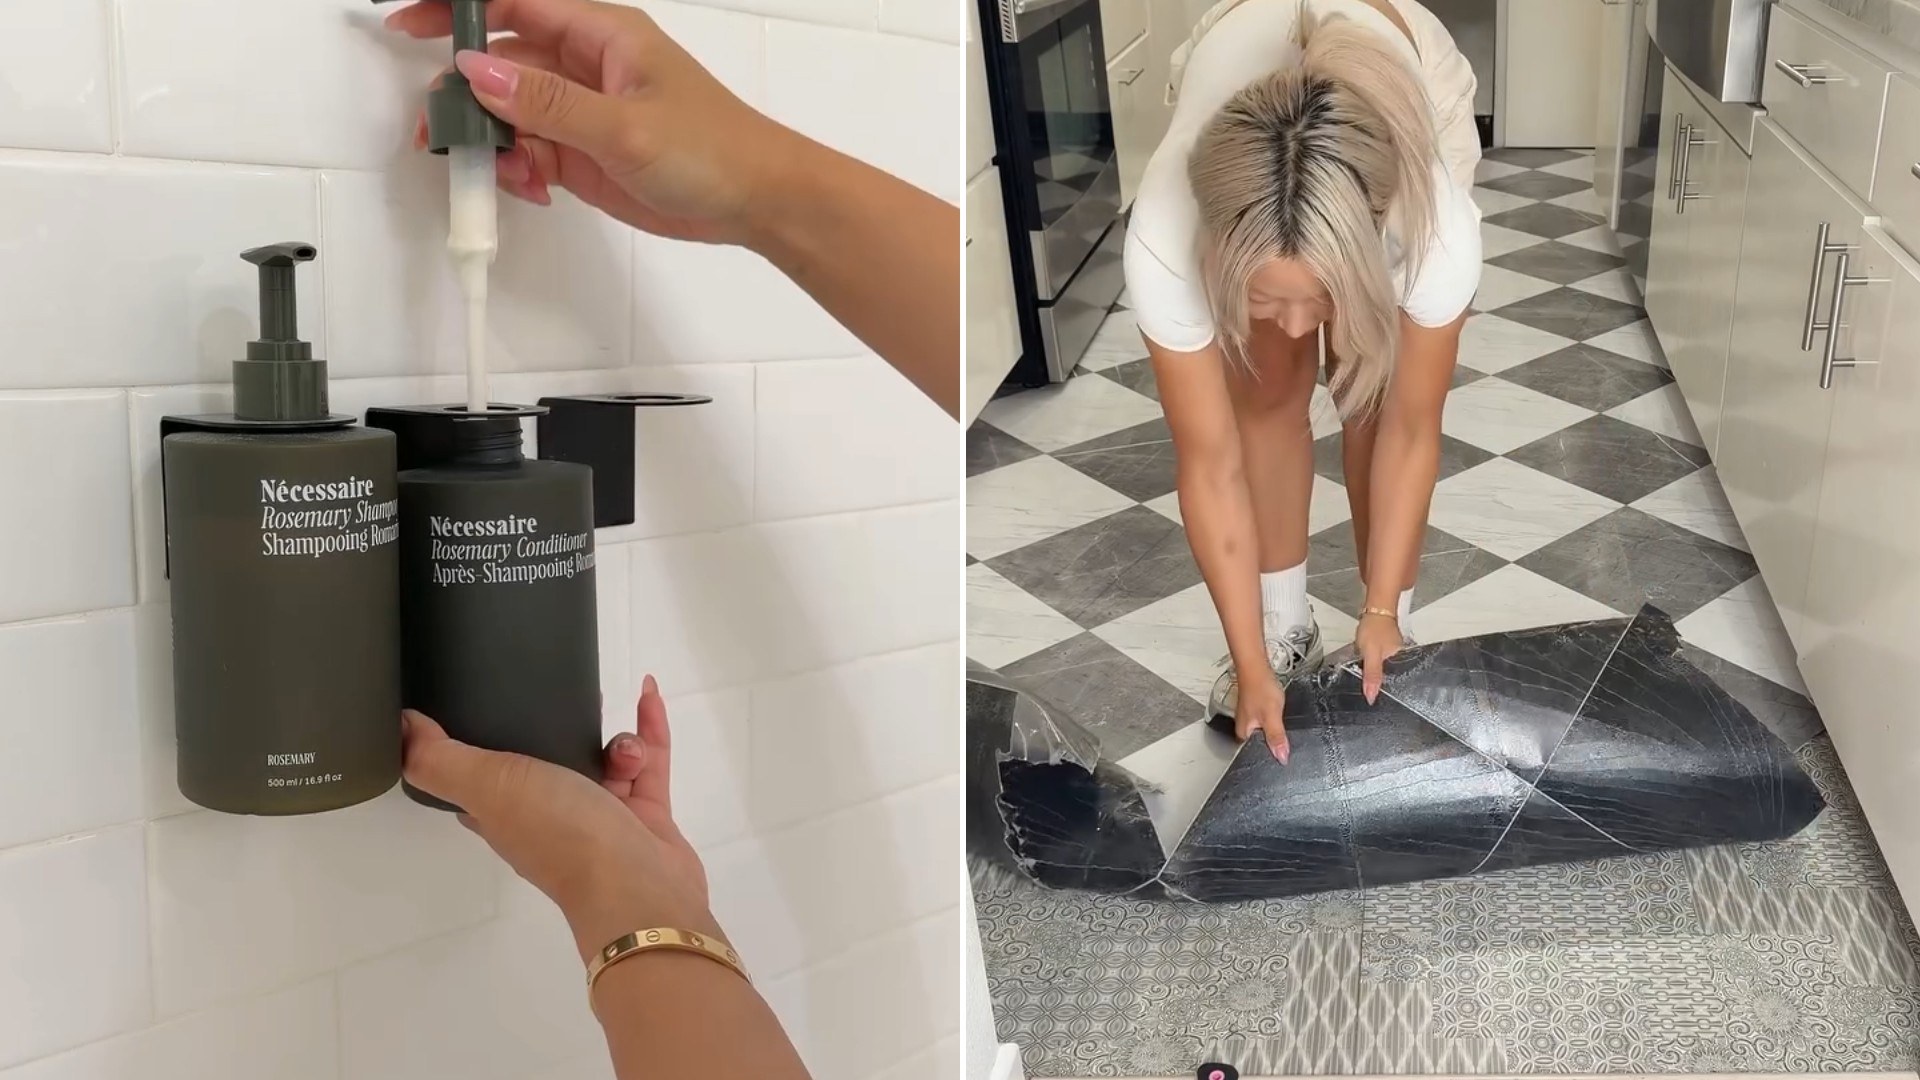
By the time this video picks up, the creator is already deep into a project most renters put off until the very last panicked week before a lease ends. This is part five of an ongoing moving series, and the focus this time is squarely on undoing all the small, rental-friendly upgrades she made to her previous apartment, peeling large adhesive tiles off the floor and pulling similar modifications down from the walls, one piece at a time.
What comes through clearly in the footage is how methodical she is about it. This isn’t a rushed, last-minute scramble; it’s a narrated, step-by-step demonstration, with her explaining exactly how each removal is done as she works through it. Adhesive backing gets carefully peeled rather than torn, residue gets addressed before it can build up, and every step seems oriented toward one clear goal: getting every cent of her security deposit back by returning the unit to the same condition it was in before she ever moved a single box inside.
The rise of peel-and-stick everything, tiles, wallpaper, backsplashes, has genuinely transformed what renters can do with a space that technically isn’t theirs to permanently alter. As @nalae.co shows across this moving series, those same products that make a rental feel personalized and finished during the lease come with an equally important second half of the story that doesn’t get nearly as much attention online: the removal process, and how much care it takes to make sure that “removable” actually means removable when it counts.
View this post on Instagram
Security deposits exist, in theory, as a straightforward mechanism, money held back to cover any damage beyond normal wear and tear, returned in full if the unit comes back in good condition. In practice, the definition of “damage” versus “normal wear and tear” is where most disputes between tenants and landlords actually happen, and adhesive products sit squarely in that gray area. A tile that peels away cleanly with no residue is unlikely to raise any red flags. The same product left in place too long, or removed carelessly, can pull up paint, leave sticky residue, or in worse cases damage the flooring or wall material underneath, any of which a landlord could reasonably classify as damage rather than normal wear.
For anyone considering similar rental-friendly upgrades, a few habits can make the eventual removal process go far more smoothly than it otherwise might. Testing any adhesive product on a small, inconspicuous area first can reveal how it will behave both going up and coming down before committing to an entire wall or floor. Removing decorative modifications sooner rather than later, rather than waiting until the final days before a move, tends to produce better results too, since some adhesives become harder to remove cleanly the longer they’re left in place, bonding more permanently to a surface over time. Keeping the original packaging or product name on hand is also worth doing, since manufacturers of rental-friendly décor products usually publish specific removal instructions, including the type of solvent or gentle heat that works best for their particular adhesive, which can be the difference between a clean release and a frustrating scraping session.
There’s a broader lesson in this fifth installment of her moving series that goes beyond adhesive tile removal specifically. Renters who document their apartments thoroughly, both at move-in and throughout their improvement projects, tend to have a much easier time when it comes to deposit disputes, since photos and video create an objective record that memory alone can’t provide months or years later. It’s also worth treating the “return to original condition” clause found in most leases as a real commitment rather than a technicality, since a landlord’s definition of acceptable condition and a tenant’s can differ significantly, especially after a multi-year tenancy full of small personal touches. What this video ultimately demonstrates, patiently and without any dramatic reveal at the end, is that getting a full deposit back isn’t about luck, it’s about the quiet, consistent effort of treating a rented space with the same care on the way out as it was decorated with on the way in.
The fact that this is already part five of an ongoing series says something too about how much content there genuinely is to cover across a single move. What looks from the outside like a single event, moving out, is in reality a long sequence of smaller decisions and tasks, each one worth its own attention, and breaking that process into installments rather than compressing it into one rushed video gives both the creator and her audience room to actually absorb the details instead of skimming past them. For anyone facing their own upcoming move, that same instinct, breaking an overwhelming process into smaller, manageable stages, tends to make the entire experience feel far less daunting than trying to tackle everything in a single frantic weekend.
There’s also a kind of accountability built into documenting the process publicly, installment by installment, that likely helps keep the whole project on track. Committing to show the removal of every tile and every modification, rather than quietly handling it behind closed doors, gives her a reason to actually follow through on every step rather than letting the smaller, less glamorous tasks slide until the very last minute. For anyone who struggles with procrastination on tedious move-out tasks, that same principle, telling someone, anyone, about the plan, can provide a surprisingly effective nudge to actually finish it.
Leave a Reply