“Somebody messed up royally.” That is how one home inspector describes what he found during a pre-drywall walkthrough of a brand new house, and after hearing what he points out, it is hard to disagree.
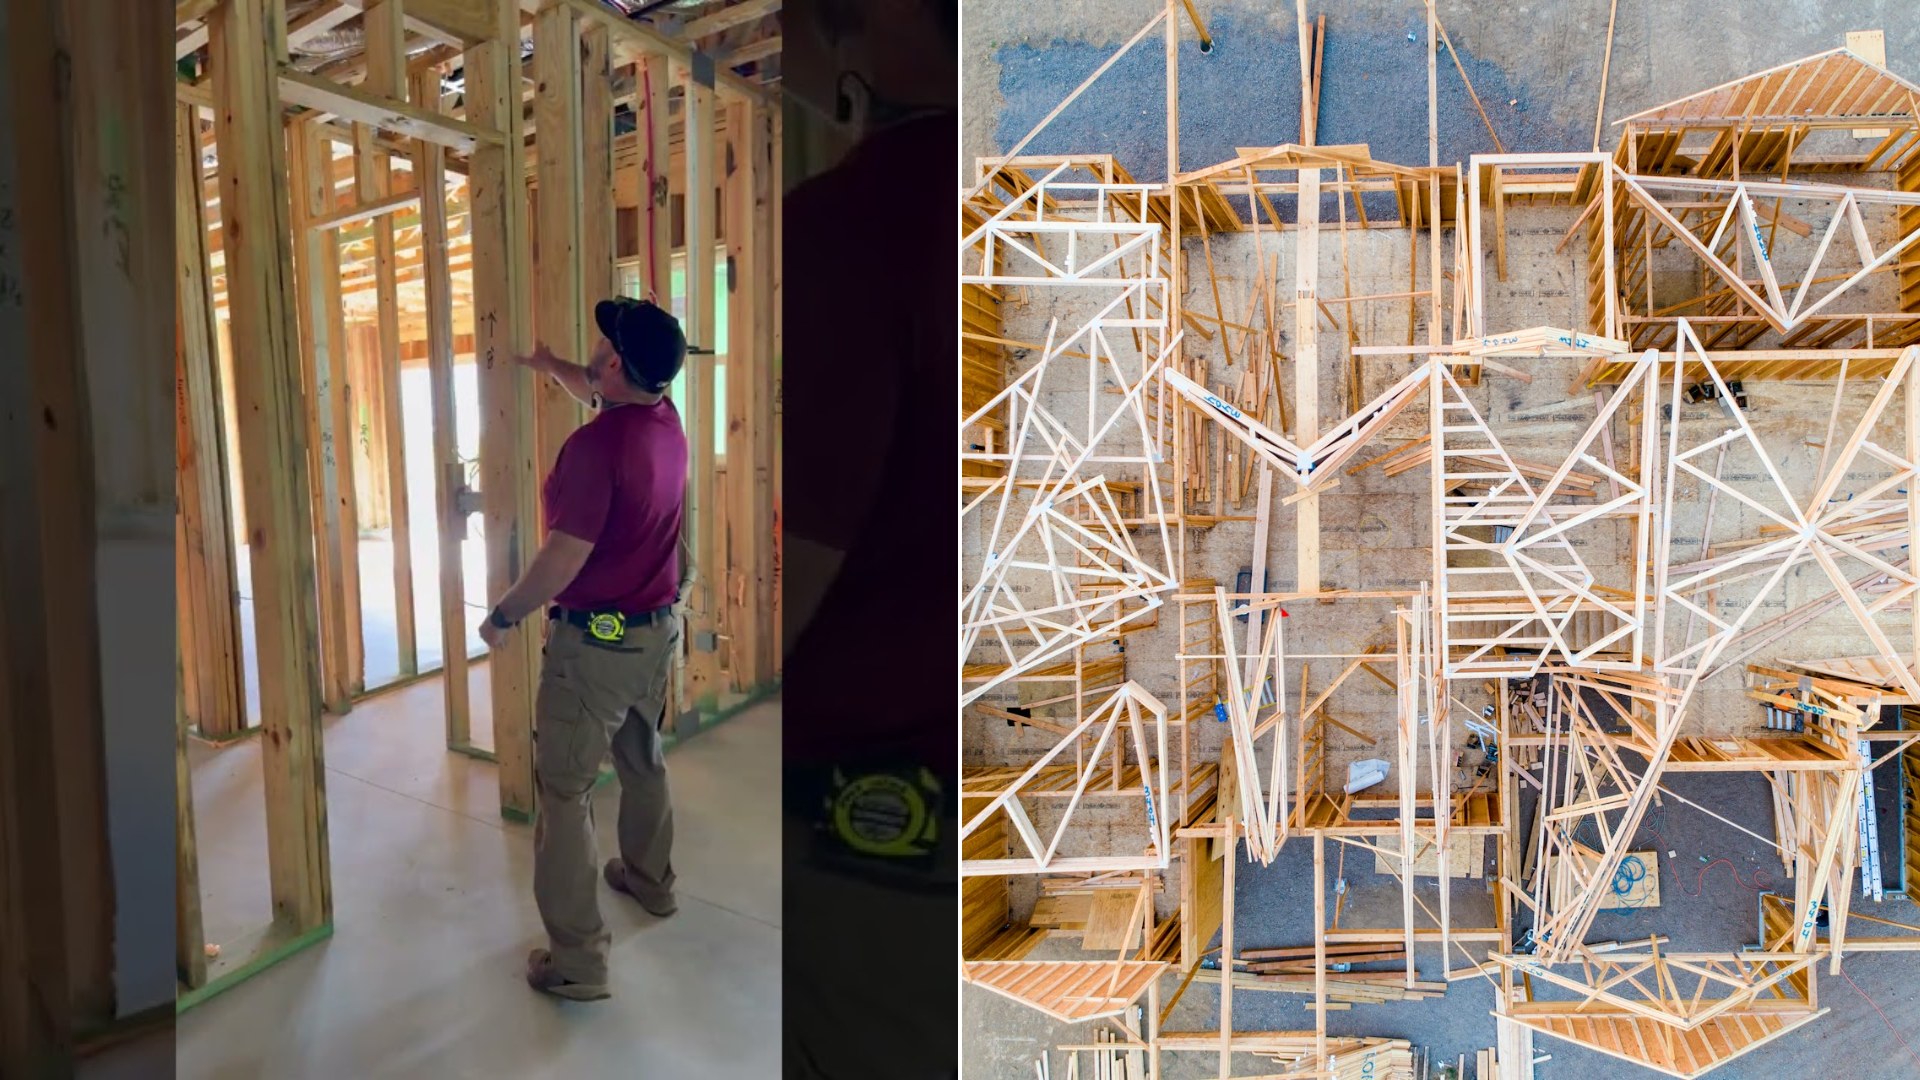
Pre-drywall is the stage when the wood framing, wiring, and plumbing are all still exposed and nothing has been covered up. It is the last chance to see how the house is really put together before the walls hide everything. In this inspection, the inspector found problems in two places that are supposed to hold the house up.
The missing gusset plates
The first problem is up in the roof trusses. Trusses are the prefabricated triangles of lumber that make up the roof structure. Where the pieces meet, they are joined by metal gusset plates, which are flat steel connectors with teeth that press into the wood.
The inspector points out a gusset plate that is simply missing at one connection. Then he shows a second missing plate where the web pieces meet the top cord of the truss. His advice to anyone looking at a build: if something does not look right on one face of a truss, go around to the back side of the same truss. The plates should mirror each other front and back, no questions asked.
A header cut where it should not be
Then he saves the worst for last. In an opening on a load-bearing wall by a stairway, the plans call for a header made of two 2×10 boards, along with two jack studs and a king stud on each side. A header is the beam that sits over a door or opening and carries the weight above it down to the studs beside it.
What he found did not match what the inspector shows in his YouTube walkthrough. The header had been cut into, and he says that instead of a 2×10, what remained was more like a 2×3. His words: “You cannot cut into your header like that.” He also asks viewers to look at the king studs and the top plate, which looked wrong to him as well.
He suspects the builders will have to figure out how to correct it, and guesses the drawings may not have matched up with what the crew was doing. He does not say what the builder did afterward, so we do not know how it was fixed. But he is clear that on a load-bearing wall, it is “not okay.”
Why a pre-drywall inspection is worth paying for
This is exactly the kind of thing a pre-drywall inspection is meant to catch. Once drywall goes up, nobody sees the connections again. Problems like these can stay hidden for years, and the first sign might be a sagging ceiling, a crack over a door, or a repair bill you never saw coming.
Many new-home buyers assume that the city or county inspector has this covered. Local building officials do inspect framing at certain stages, but they are often looking at many houses a day and are checking for code compliance, not working for you. A private inspector works for the buyer and has time to look closely.
If you are building or buying new construction
- Hire your own inspector. Look for someone who does new construction regularly and ask whether they offer a pre-drywall visit, not only a final walkthrough.
- Ask your builder when the pre-drywall stage will happen. Schedule the inspector for after framing, electrical, plumbing, and heating and cooling rough-ins, but before insulation and drywall.
- Get everything in writing. Ask for a written report with photos, then send the list of problems to your builder and ask how and when each will be corrected.
- Ask for a re-inspection. A promise that something was fixed is not the same as seeing it. Have the inspector confirm the repairs before the walls get covered.
- Take your own photos. If you can visit the site safely and with the builder’s permission, photograph the framing, the wiring, and the plumbing before drywall. Those pictures can be priceless later.
- Do not be afraid to speak up. A good builder wants to fix problems before closing. A defensive one tells you something too.
What to look at yourself
You do not need to be an engineer to be a smart homeowner. If you walk through your house during framing, you can do a few simple things.
- Look at whether the metal plates on the roof trusses seem to be present at every joint.
- Notice whether any boards over doors or openings look chopped, notched, or cut out to make room for pipes or wires.
- Compare what you see with the plans. If you do not understand a difference, ask.
The inspector sums it up by telling people to be on the lookout for these things. After seeing what he found at this stairway, that seems like good advice for every new-home buyer.
More Stories You May Like
- Plumber With 30 Years Of Experience Says Never Use Type M Copper When Replumbing Because It Causes Pinhole Leaks And The Fix Costs Only $10 More
- He Finished A Client’s $8,000 Fence, Then A Neighbor Complained To The City About Which Side Faces Out, Forcing Him To Add 50 Feet Of Shadow Box
- Home Inspector Finds A Gas Meter With A Broken Top Held Together With Tape, Then Learns Nobody Ever Called The Gas Company To Fix It
Leave a Reply