“I refuse to let anyone tell me that this was a bad idea.” That is how one homeowner introduces her bathroom floor, a patch of vintage mosaic tile she found under old carpeting and has decided to save. What follows is a long, sweaty and surprisingly funny lesson in just how much work a restoration takes.
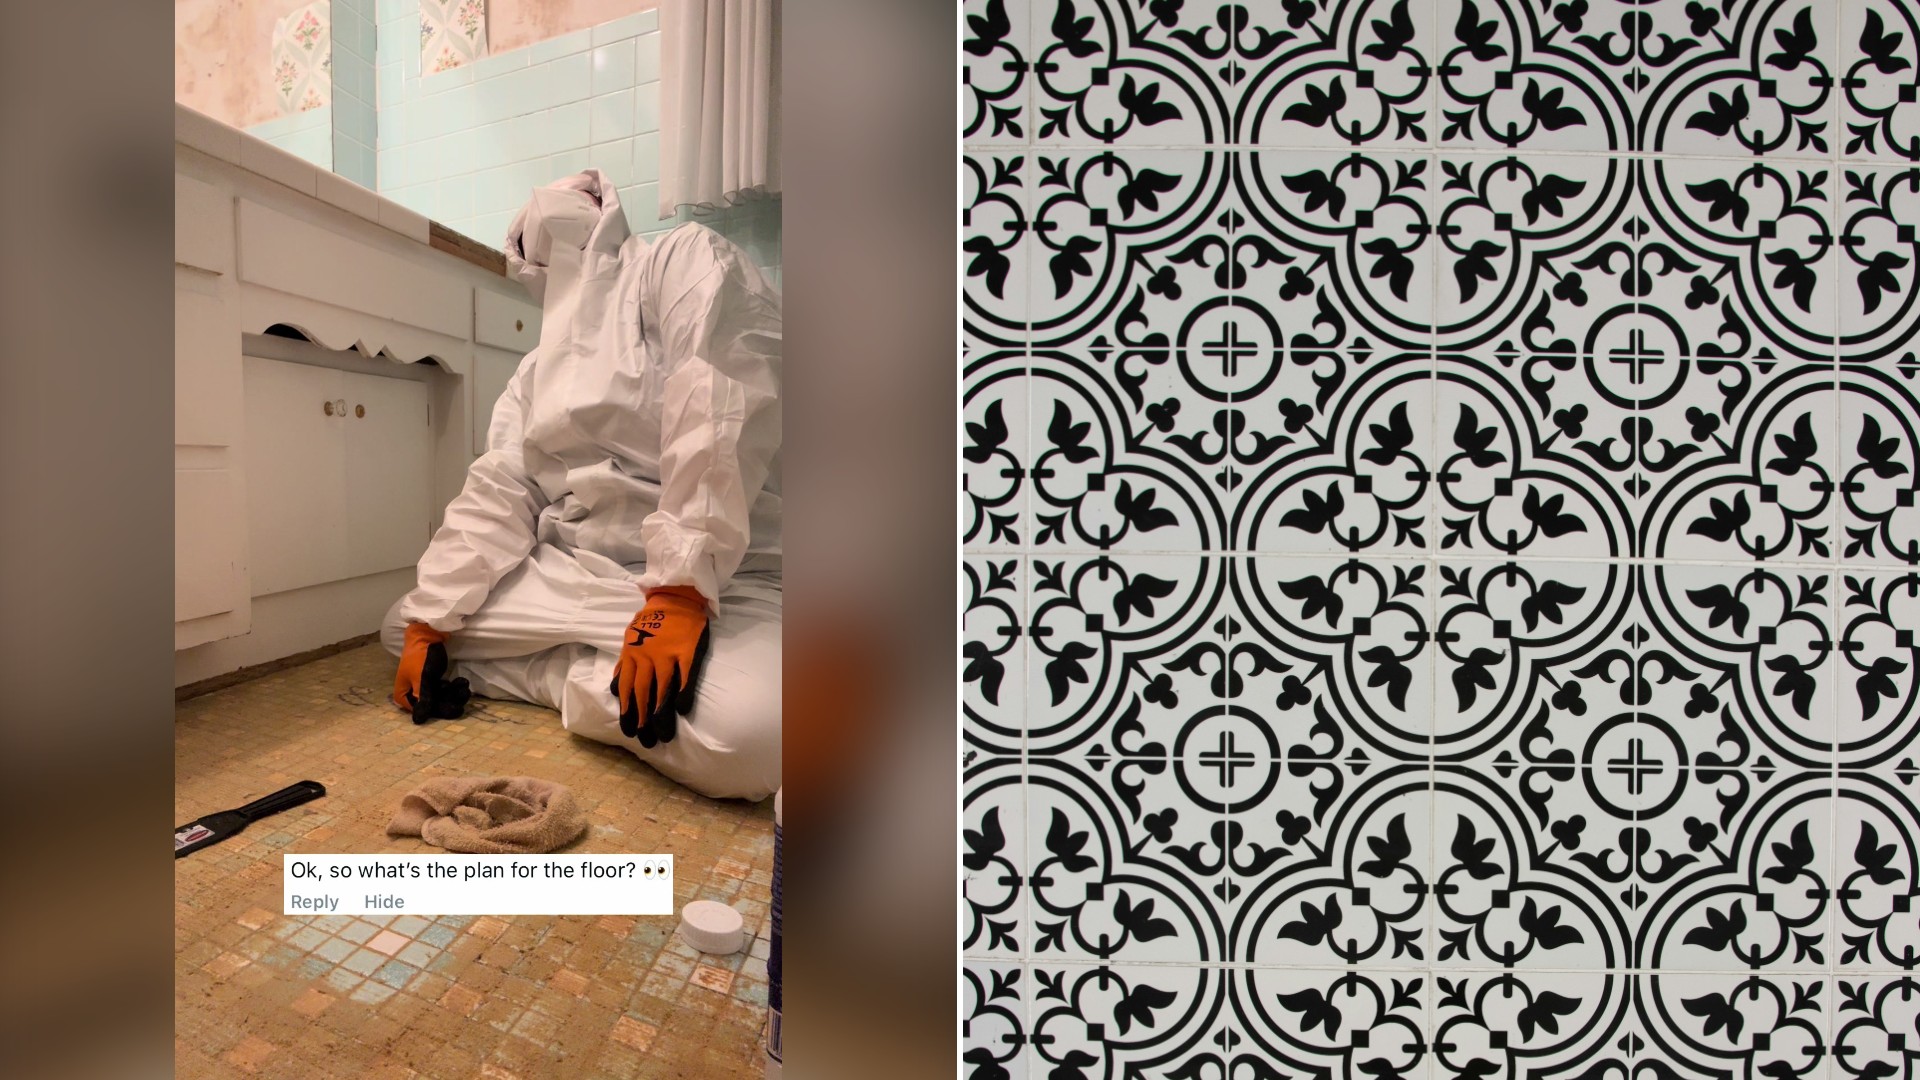
The floor project is shared by @tracicox2, who is not afraid to show how tiring it gets.
@tracicox2
Carpet up, tile revealed
A woman with purple hair kneels in her bathroom and peels back a piece of old carpeting. Underneath is a mosaic floor of small square tiles, dirty and discolored but unmistakably vintage. A cat peeks around the doorway as she gets ready to clean.
Suited up for the scrub
The cleaning begins in a full white protective suit, a mask, goggles and bright orange gloves. She scrubs the tile with a sponge, then with a heavy duty brush, and finally with an electric drill fitted with a bristle brush to lift layers of grime and old adhesive. Between rounds she sinks against the vanity or flops onto the floor, a running joke about how long this bathroom is taking.
She also scrubs along the baseboard edge and lies on her stomach in a respirator to scrape grout lines with a small hand tool. At one point she lies fully prone on the tile, scraping with one limp arm.
Repairs and loose tiles
Not every tile is willing to stay put. Wearing a high visibility vest and respirator, she works on spots where tiles have come loose and holds up a sheet of matching mosaic to show the repairs underway. Broken subfloor and detached sections of tile surround her as she sits against the vanity. In the final scene she holds individual tiles over a tub of water and scrapes the old mortar and adhesive off each one with a utility blade, looking at the camera with deadpan resolve. Her verdict is simple: fine, she will do the floor.
What lies under old carpet
Carpet laid over a bathroom floor is often a sign of a past owner trying to soften a cold surface or hide wear. Underneath, original mosaic tile is usually set in a thick mortar bed or glued to a backing sheet, which is why it can last for generations but also why removing adhesive and grime takes serious effort.
Steps for restoring an old tile floor
- Test old adhesive and backing before disturbing them. Some mid century floor adhesives and flooring layers contain asbestos, and a certified lab can test a sample.
- Wear a respirator, goggles and gloves, and keep the room ventilated while you scrub and scrape.
- Start with the gentlest cleaner and a soft brush, then step up to firmer tools only where needed.
- Clean grout lines with a hand scraper or grout tool, and replace failing grout.
- Save any loose tiles, scrape old mortar off the backs and reset them. Source matching sheets for missing pieces.
- Seal the finished floor with a product suited to the tile and the room.
Common questions
Is old mosaic tile worth saving? Many owners think so, especially when the tile is in a color and pattern that is hard to find. Restoration takes time but can cost much less than new work.
Why wear a hazmat suit to clean a floor? Old floors can hold dust, mold and unknown residues. Protective gear keeps those out of your lungs and off your skin.
Where do I find replacement tiles? Salvage yards, specialty tile suppliers and some online sellers carry vintage and reproduction mosaics. Bring a sample to compare size and color.
Can I fix a damaged subfloor myself? Small repairs are common DIY work, but if the floor is soft or the damage is widespread, a licensed contractor can check for moisture and structural problems.
The takeaway
Restoring an old floor is slow, dusty work, and it rarely goes to plan. But the reward is a surface with real character that new materials struggle to copy. Anyone who finds vintage tile under a worn covering can learn from this homeowner: protect yourself, go step by step and keep a sense of humor.
Credit for the original post goes to @tracicox2 on TikTok.
Leave a Reply