Sooner or later, just about every homeowner faces the same question: do you call a plumber and spend hundreds of dollars to replace a toilet, or do you tackle it yourself? According to @IsItWorthIt-wr4nq, the good news is that replacing a toilet is not as difficult as you might think. The catch is a handful of mistakes that can turn a simple install into a very expensive repair.
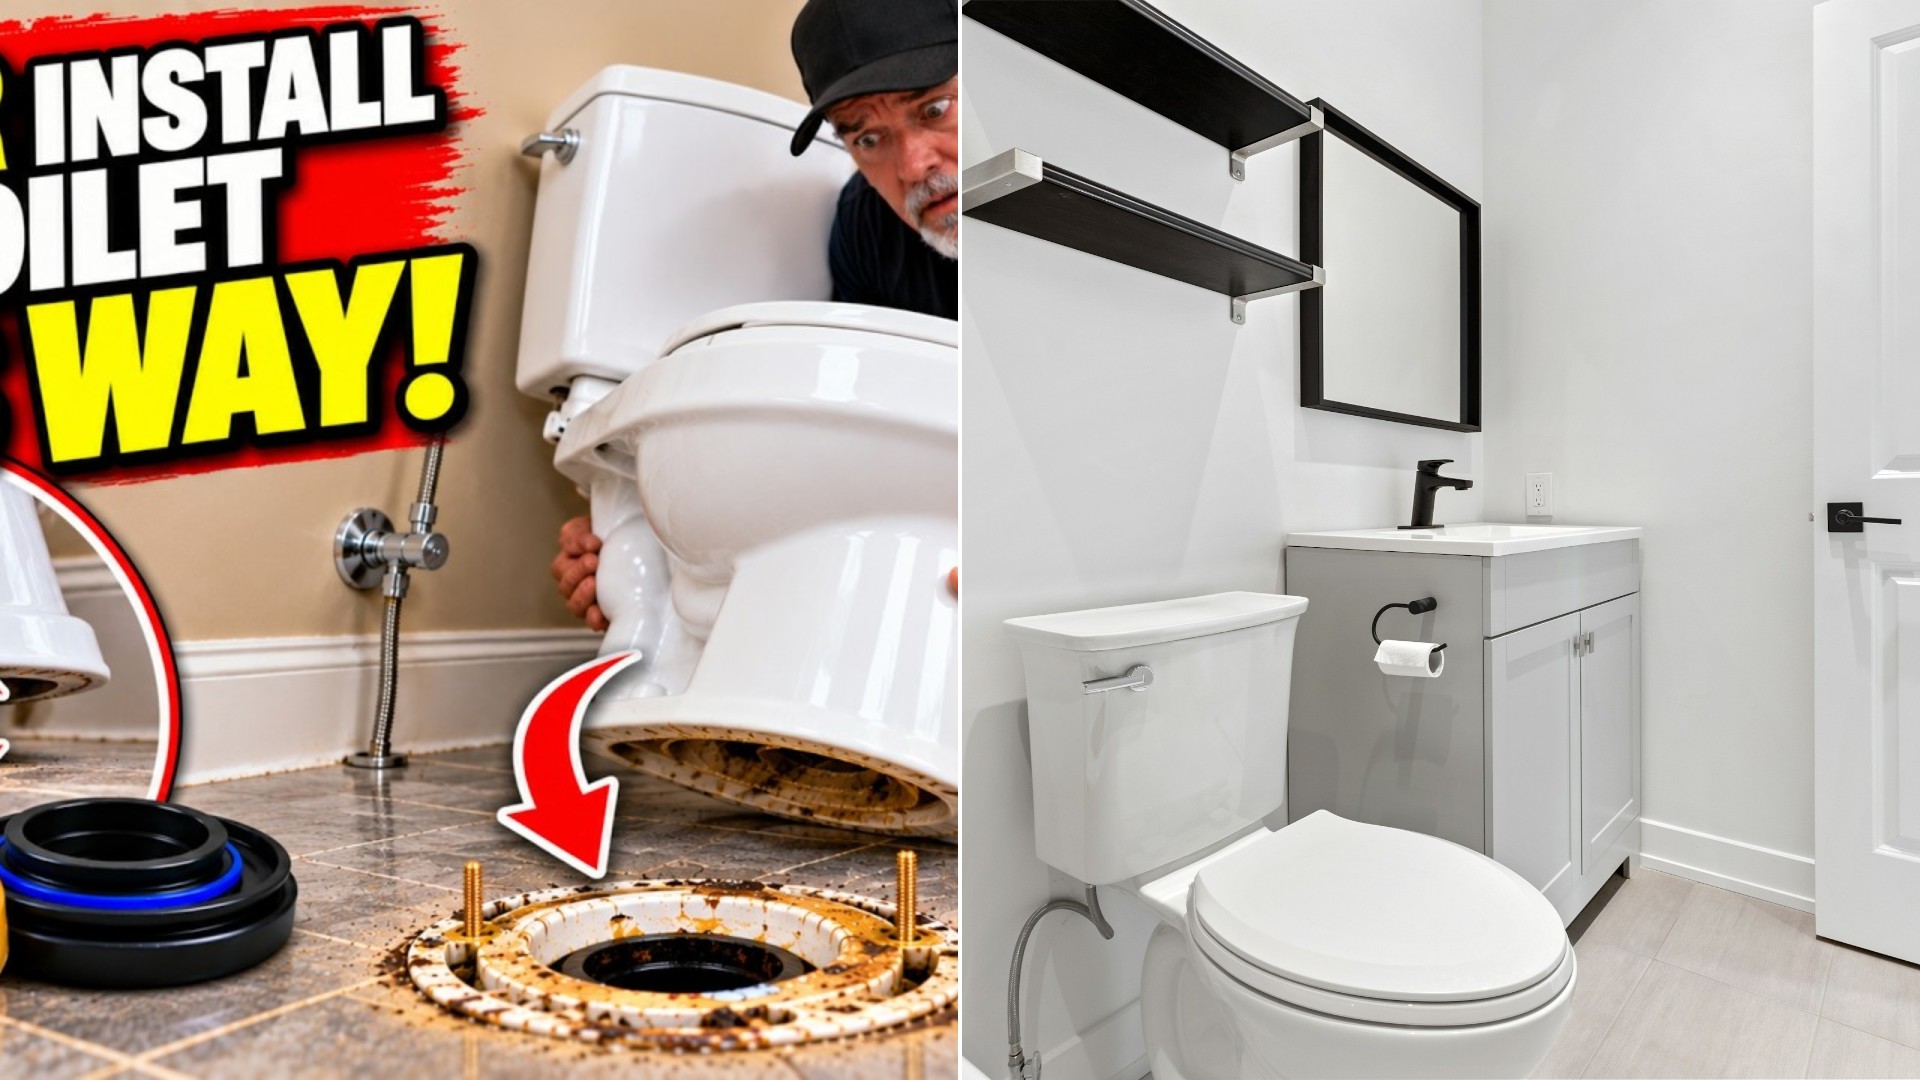
The host of the channel, who has watched homeowners make these mistakes over the years, walks through the most common ones. He also shares two simple tricks he says make the job easier and more accurate, even for people who have installed a toilet before.
The headline trick is a small one that costs pennies, and it solves the most aggravating moment of the whole job.
Prepare Before You Pull The Old Toilet
The first mistake is not preparing. Before anything comes apart, check your water shut-off valve, because some of those valves have not been touched in years. The last thing you want is to disconnect the toilet and discover the water will not stop. Turn the valve off and confirm it is really stopping the water. If it is not, shut off the main water valve to the whole house, then open the lowest faucet and let it run until it stops.
Next, flush and hold the handle down to get as much water out of the tank as possible. Plenty is still left in the tank and bowl, and it will slosh everywhere when you carry the toilet out. His trick is to half fill a 5-gallon bucket and pour it quickly down the bowl so the pressure flushes most of the water out. He then uses a shop vacuum to take the rest from both the bowl and the tank. Removing the old toilet itself, he says, is pretty straightforward. The mistakes come with the new one.
Check The Flange
The toilet flange connects the toilet to the drain and holds the mounting bolts in place. Clean off the old wax ring and inspect it. Make sure it is not cracked, broken, loose or badly corroded, and check the floor around it. If you find soft wood or water damage, never hide it under a new toilet. That repair has to come first.
While you work, he suggests plugging the drain opening to keep sewer gases out and stop anything from falling in. He uses a plastic cup that fits right in. Just remember to take it out before installing the new toilet.
Flange height matters too. Ideally a conventional flange sits on top of the finished floor, with its upper surface about a quarter of an inch above it. A flange flush with the floor or slightly lower can still work with the proper seal, and some situations allow an extra thick jumbo wax ring. But do not simply stack wax rings and hope for the best. Use a method approved for your flange and follow the manufacturer’s instructions, because once the toilet is down you cannot see what is happening underneath.
Position The Closet Bolts, And Skip The Plastic Holders
Closet bolts secure the toilet to the flange, and where they sit decides how straight the toilet lands in relation to the wall. Slide them into the slots directly opposite each other, spaced for the toilet’s mounting holes. On most toilets in the United States the waste line is 12 inches from the rough opening of the studs. Take away a half inch for drywall and a half inch for trim and you are at 11 inches from the trim. His particular toilet needed an extra half inch, so he measured 11 1/2 inches from the base trim and marked the floor.
The base of each bolt is oval, and the oval has to sit in the right orientation to lock into the flange. His bolt has a mark on top that matches the oval. If yours does not, draw a line on the top end with a Sharpie.
Now for the big tip. Many people use the little plastic closet bolt retainers that are supposed to hold the bolts upright. He says they are sometimes a little helpful, but he shows how a light bump moves the bolt, and sometimes they just fall over. Picture holding a toilet that weighs 50 or 60 pounds while you line up two bolts. One side lines up, the other bolt tips over or gets bumped off center. When you push the toilet down, the wax ring can end up off center from the drain hole, it does not seat, and you get a messy leak. Then you have to lift the toilet, straighten the bolt and replace the wax ring.
His fix is a metal washer and a nut on each closet bolt. Once the bolt is positioned correctly, he puts the washer and nut on and secures the bolt right to the flange. The bolts stay standing straight and stop sliding around. That cuts the chance of lifting the toilet after the wax is compressed.
He adds two more helpers. Slide an ordinary drinking straw over each bolt to make two taller guides, so you can see the bolts as you lower the toilet. Then put a strip of painter’s tape on the floor and mark the bolt positions with a Sharpie for a reference when you maneuver the toilet.
Choose The Right Seal And Handle It Gently
The next mistake is using the wrong toilet seal or disturbing the wax ring. Wax is messy, and once it is compressed it does not spring back. If you lower the toilet and then lift it again, you can disturb the seal and leave a gap where water can escape. He recommends replacing the wax ring any time you lift the toilet after setting it. A new one is inexpensive, and far cheaper than repairing a damaged bathroom floor.
A wax-free rubber seal works differently. Some models can be repositioned or reused according to the manufacturer, but he cautions against assuming every one fits every toilet or flange height. He personally uses wax because he has never had a wax seal fail in all his years of installing toilets. He warns that some chemical clog removers say not to use them on a toilet with a wax seal, and he has heard of snakes damaging rubber seals.
When it is time to set the toilet, remove the temporary plug and position the seal as the manufacturer recommends. The bowl weighs over 50 pounds and the tank another 20, so he puts the bowl on first, lifting with his legs and walking it to the marks. He can see the bolts or straws through the holes, lowers it straight down and applies steady, even pressure. He does not slide it back and forth or rock it, which can distort the wax on one side and cause a leak.
Do Not Overtighten
Porcelain does not bend. Overtighten the mounting bolts and you can crack the base of the toilet, and then you may need a whole new toilet. He uses a short-handled wrench so he cannot put on too much torque, and tightens a little at a time, alternating sides. If the toilet rocks, do not crank the bolts harder. The same goes for the tank bolts on a two-piece toilet.
Finally, once the toilet is secure, trim any excess bolt length and snap on the caps. He asks why anyone would reuse a worn supply line that may be 15 or 20 years old, and says to replace a leaking or corroded shut-off valve at the same time. Before walking away, feel around all the connections for water, and lay a dry paper towel or newspaper under them for a day or two to catch any drips.
His closing advice is not to let fear keep you from a repair you are capable of. Not everyone should replace their own toilet, and if you find damaged plumbing or a broken flange you are not comfortable with, calling a professional is fine. But a lot of these jobs are not nearly as hard as people make them sound.
More Stories You May Like
- Dad Shares Five Easy Fixes For A Wiggly Faucet, Slow Smelly Sink, Stuck Hose, Drywall Hole And Sticking Door That New Homeowners Can Skip The Plumber For
- One In Four Homeowners Has Just $500 Or Less Saved For Repairs While 81% Faced A Repair Emergency Last Year And 61% Delayed Fixes
- This Homeowner Says Every Repair Quote They Get Is Over $1,000 Including $7,500 To Fence A Tiny Backyard And Calls Owning A House A Scam
Leave a Reply