There is a certain kind of gardener who plants a hundred bulbs in October, feels wonderful about it, and then stares at a patchy, disappointing bed the following April. The bulbs were not bad, and the effort was real. The trouble was in the details: how deep they went in, when they went in, and what got cut back in the cleanup rush before winter.
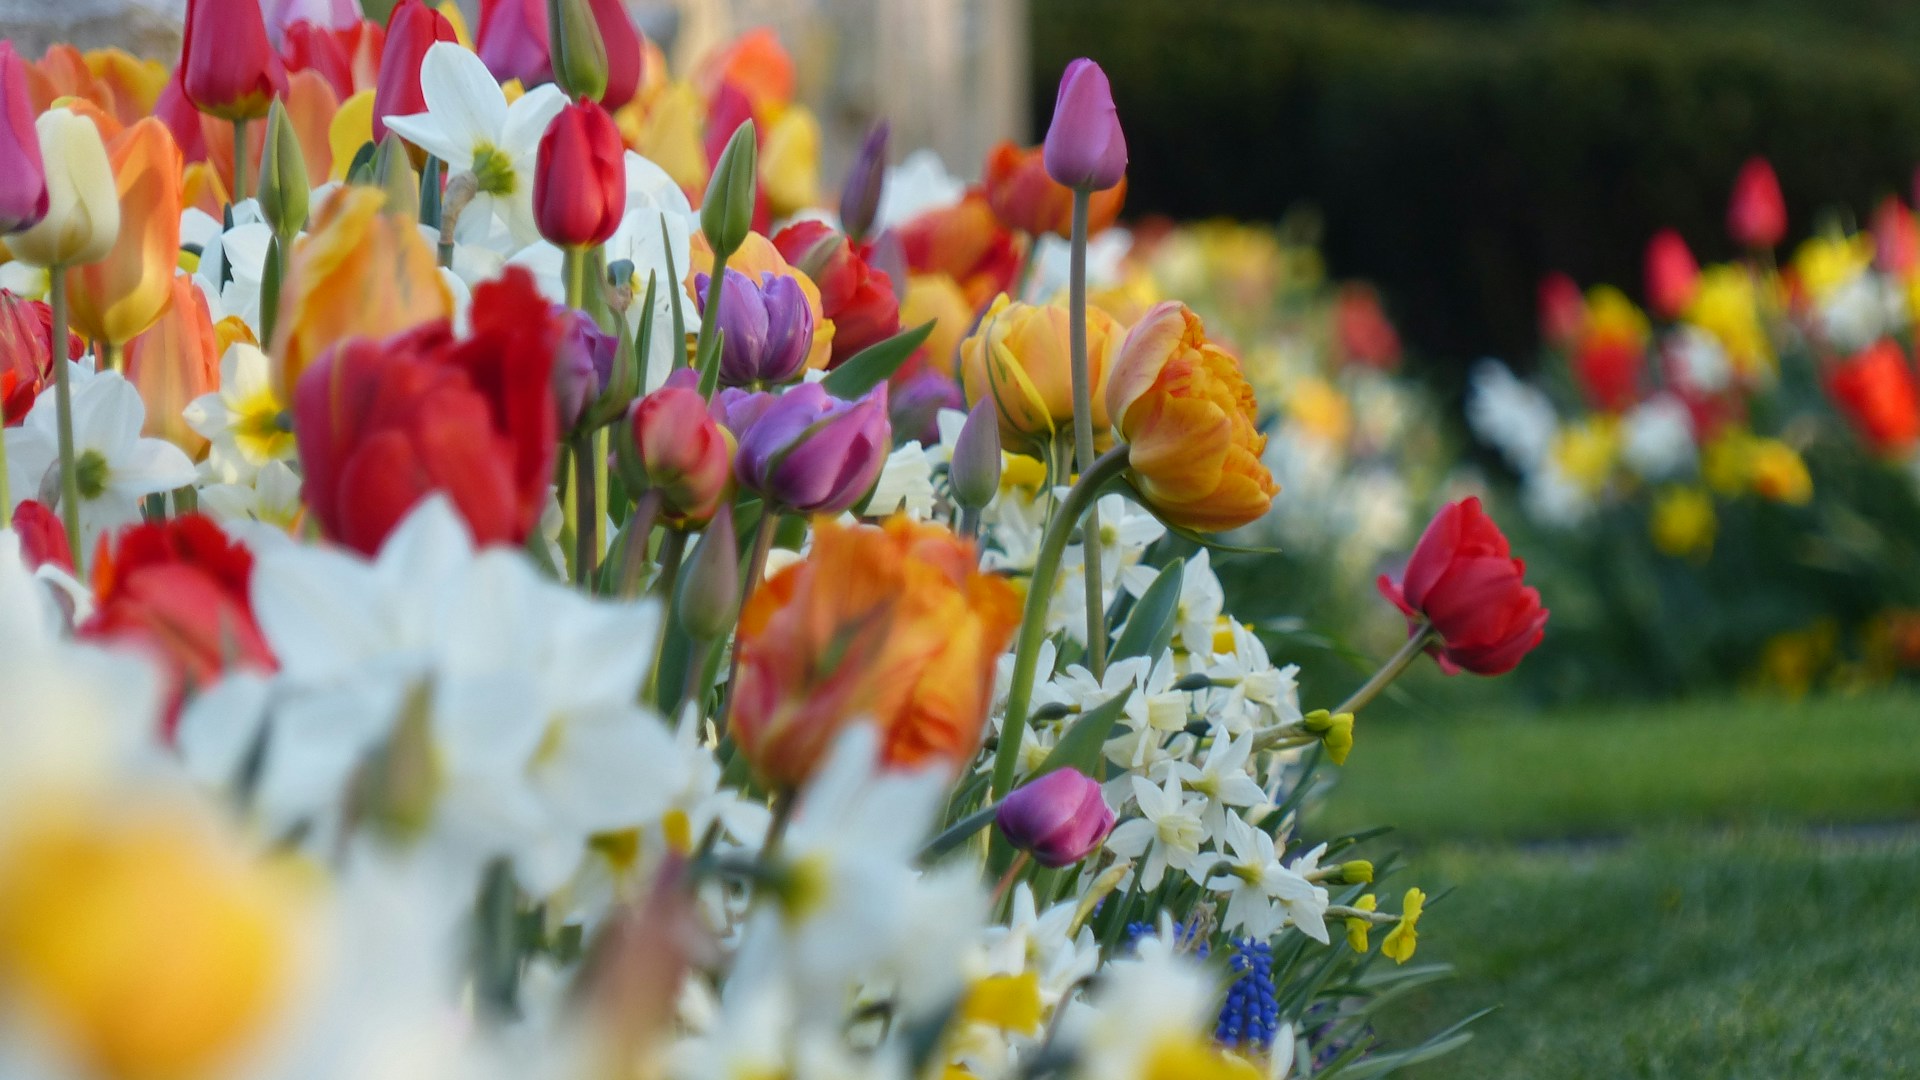
Fall is the season when next spring’s garden is decided. A little care now saves a lot of disappointment later, so here is what to check before you dig.
Start with your hardiness zone
Before you buy a single bag, find out which hardiness zone you live in. The zone is a map-based guide to how cold your winters get, and it shapes almost everything about bulb planting. Timing varies a great deal by zone. What counts as the right week in a cold northern garden can be far too early, or far too late, in a mild southern one.
Spring-blooming bulbs generally need a stretch of cold weather in the soil to bloom well, and they need time to grow roots before the ground freezes hard. Plant too late in a cold region and the roots may not get established. Plant too early in a warm region and bulbs can sprout at the wrong moment. Your local garden center and your county extension office can tell you the planting window that suits your area, and the packaging on most bulbs offers guidance as well.
Too shallow, too deep, or upside down
Depth is the mistake that catches the most people. Bulbs planted too shallow are more exposed to cold swings, to hungry squirrels and to heaving soil, and they may bloom poorly or come up weak. Bulbs planted too deep can struggle to push through, and some simply never make it to the surface.
The easiest way to get it right is to follow the directions that come with the bulbs. Different bulbs want different depths, and big bulbs like tulips and daffodils do not go in at the same level as tiny ones like crocus. Check the label for each type rather than assuming one hole depth works for everything.
Point the pointy end up. If you cannot tell which end is the top, plant the bulb on its side, and it will usually sort itself out. Loosen the soil first, and mix in some compost if your ground is heavy clay. Bulbs hate sitting in soggy dirt, and poor drainage is a quiet killer of them over the winter. Water them in after planting to settle the soil and encourage roots.
Protect them from hungry visitors
If squirrels and chipmunks dig up your bulbs, you are not alone. Some gardeners lay wire mesh over the planted area, then cover it with soil and mulch. Others choose bulbs that critters tend to leave alone. A layer of mulch after the ground cools down also helps keep the soil temperature steady through winter.
What not to cut back
Fall cleanup brings out the urge to tidy everything, and that is where some gardeners do real damage. Cutting the wrong plants back at the wrong time can cost you blooms next year.
- Spring bulb foliage. After bulbs bloom in spring, the leaves are busy collecting energy and storing it in the bulb for next year. Cutting them off early, or tying them in knots, starves the bulb. Let the foliage yellow and fade on its own before removing it.
- Shrubs that set buds early. Some flowering shrubs form next year’s flower buds in late summer or fall. A hard fall haircut can remove those buds, so you get a nice shape and no flowers. Find out when your particular shrub blooms and when it should be pruned.
- Perennials with seed heads or structure. Many gardeners leave some stems standing through winter. Seed heads can feed birds, and the dried stalks add interest to a snowy bed. Leaving some plants standing can also protect the crown of the plant. Cut those back in late winter or early spring instead.
- Anything you are not sure about. When in doubt, wait. A plant left alone rarely suffers, while one pruned at the wrong time can sulk for a whole season.
Clean up what actually needs cleaning
Not everything should stay. Remove diseased leaves and any plants that showed mildew or rot during the season, and throw them in the trash instead of the compost pile so problems do not spread. Pull weeds before they drop seed, and clear thick mats of wet leaves that can smother plants and invite rot. A light layer of shredded leaves or mulch, on the other hand, is a friend to most beds.
A quick fall bulb plan
- Look up your hardiness zone and the planting window for your area.
- Buy firm, healthy bulbs and read the planting depth for each type.
- Loosen the soil, check the drainage and plant with the pointed end up.
- Water them in and add mulch once the ground cools.
- Leave bulb foliage and early-budding shrubs alone until it is the right time.
Gardening rewards patience, and fall planting is the ultimate act of faith. You bury something plain in cold dirt and trust that color will come back. Give those bulbs the right depth and the right timing, hold back the shears, and next spring should reward you with a bed worth showing off.
More Stories You May Like
- Couple Restoring An 1888 Home Clears The Attic And Finds A Sewing Machine, A 1920s Chemical Company Ledger And A Glass Display Cabinet
- She Had Five And A Half Shelves Of Garden Onions And Two Weeks To Save The Bolted Ones, So She Made Powder, Pickles And Caramelized Onions For The Freezer
- Real Estate Agent Warns Buyers to Assume Cameras and Microphones Are Capturing Their Every Word the Moment They Step Out of the Car at a Showing, and Explains What Not to Say
Leave a Reply