If your kitchen still has honey-colored Golden Oak cabinets, you may not need to rip them out. Wes of Woodworking With Wes says the same cabinets can be refaced with new wood veneer on the frame, new doors and fresh paint “for thousands less than new cabinets.”
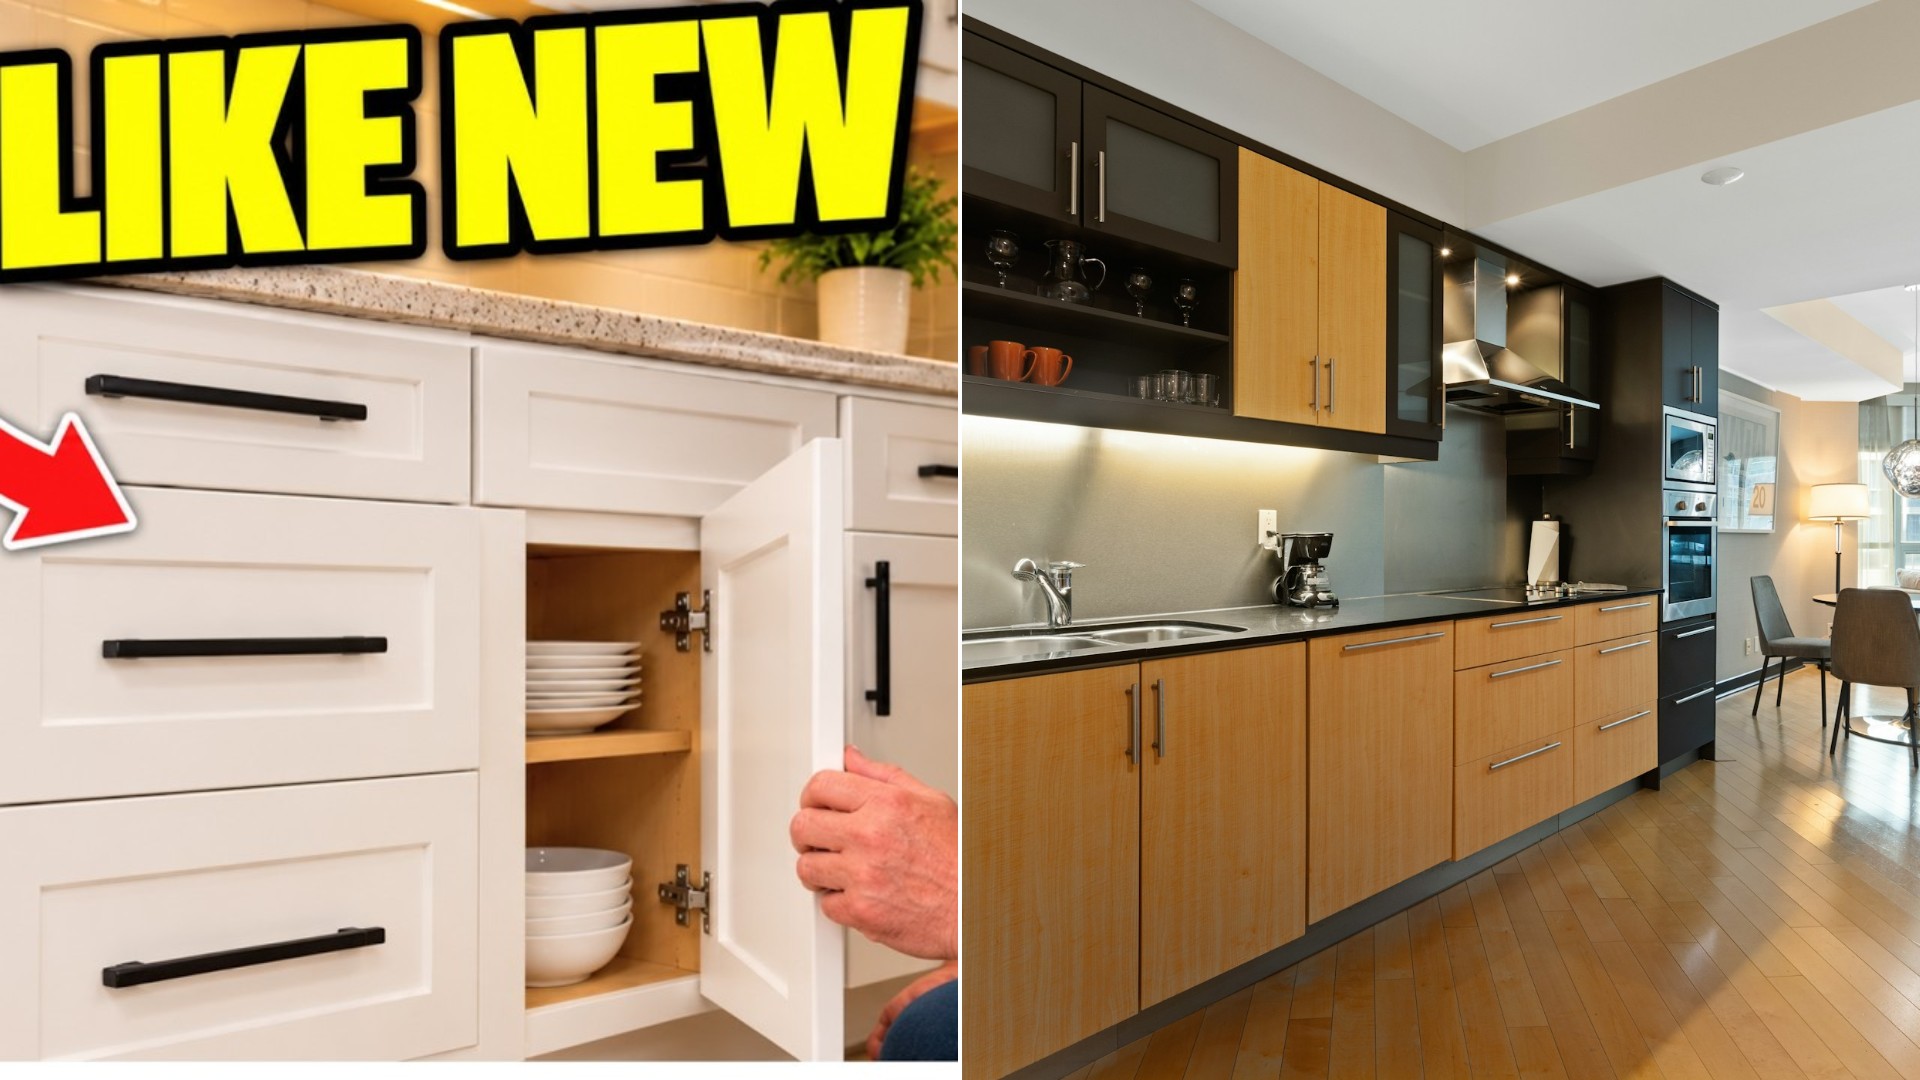
He knows the style well. “If you recognize this, you’re probably one of the 10 million plus people that got Golden Oak kitchens installed in their home during its heyday,” he says. “I was one of them.”
Years ago he ran a cabinet business and did refacing, so he walks through every step of what he calls the ultimate makeover.
Start By Stripping The Doors And Cleaning The Boxes
First the doors and drawer faces come off. He then cleans the inside of the cabinet with lacquer thinner from the local hardware store so the surface is nice and clean.
The process in a nutshell, he says, is to veneer the frames, wrap the end panels, hide the seams, then sand and paint.
Do Any Repairs First, Even If You Keep The Granite Countertop
Say you installed a new granite countertop a couple of years ago and do not want to replace it. Refacing lets you update the cabinets underneath and keep the counters.
Any repair or change that does not require removing the countertop should be done before refacing, he says. Then once everything is refaced, it all looks brand new.
Why Maple Veneer Is The Secret To A Smooth Painted Finish
The new surface is paper-backed maple veneer, which he adheres to the existing cabinet. He chose maple because the cabinets will be painted. For a natural wood look, such as cherry, he would buy cherry veneer and make the doors from cherry.
So why not just paint the oak? “Oak’s open grain shows through the paint and the veneer gives you a smooth surface,” he explains.
The Tools Are Simple, And The Glue Is Contact Adhesive
He says the tools to cut veneer are basic: a good sharp utility knife, a small square, a long straight edge and a tape measure.
He uses a spray contact adhesive and likes the 3M brand. With contact adhesive you coat both surfaces, wait for it to dry until it is just slightly tacky, then press them together. A water-based brush-on version also exists, which is how he first learned to do it, but he likes the spray because it goes faster.
“Work Your Way Down. Keep The Bubbles Out”
The face frame has a three-quarter-inch edge, so he laps the veneer back on the sides and bottoms to make the face look that thick. He rolls it down with a J roller, which presses the facing material down solid, and rolls it around corners.
Because the glue sticks aggressively, he warns you must go carefully. “Don’t just slap it up there on the edge. Work your way down,” he says. The goal is a smooth, bubble-free surface for paint.
End Panels And Seams Disappear Under The Veneer
The end panel is done as one big piece, which he says is critical. He tapes off the floor and wall to keep overspray to a minimum, since it is hard to clean up, though lacquer thinner works.
Where two box cabinets meet, there is normally a seam. He runs the veneer over the top of that seam to hide it.
Doing it this way means the original frame stays put, so you skip the demolition, the mess and the wait that come with tearing out a whole kitchen.
Sanding Takes Very Little Time
After the putty is cleaned up and the joints are smooth, he gives the corners a light hand sanding so nothing has a sharp edge. He also sands along the bottom so nothing catches.
When he is done, the cabinet looks new from the outside. “It’s now no longer an oak cabinet. It’s now maple cabinet ready to paint.”
New Shaker Doors And A Cashmere Paint Finish
For doors and drawer fronts, he made Shaker-style pieces on his router table. For paint, he used Sherwin-Williams Cashmere acrylic latex, which the paint store recommended for cabinets. He says it smooths out well and has good coverage, and he had it tinted to a color he liked.
“Wow, what a transformation,” he says when the paint goes on.
Wes says the paint store was happy to talk through the project before he painted, which is a good habit to copy.
A Simple Jig Makes The Hardware Line Up Every Time
For the final touch he uses a hardware installation jig. He calls it a tricky little way to put hardware on evenly spaced and right every time.
What To Know Before You Try It
Refacing first got popular 25 or 30 years ago, he says, and he worked in that end of the business for about a year and a half. A small, typical kitchen can be done in a week.
- Only reface cabinets that are solid and dry.
- Ventilate well when using spray adhesive.
- Tape off floors and walls to limit overspray.
- Follow the instructions on the adhesive can closely for the best bond.
With patience, a roller and a sharp knife, an outdated oak kitchen can look new for thousands of dollars less than replacing it.
More Stories You May Like
- Kalorik MAXX Air Fryer Oven Doors Can Suddenly Close On Your Arm With Dozens Of Burns Reported And The Brand Owner Says No To A Recall
- Two Men Paint A Fence In 40 Minutes But One Takes 1 Hour Alone And Most People Get How Long The Other Needs Completely Wrong
- HVAC Tech Shows the Tools He Regrets Buying Including a Ninety Dollar Swedish Pipe Wrench He Has Used Exactly One Time on a Gas Valve
Leave a Reply