“I found these at the thrift store for only $19 apiece, which is crazy.” The tables in question are vintage Heywood Wakefield surfboard end tables, a design that she says is still in production and costs almost a thousand dollars apiece new. These two had been refinished before, though, and not kindly. So she decided to bring them back to life.
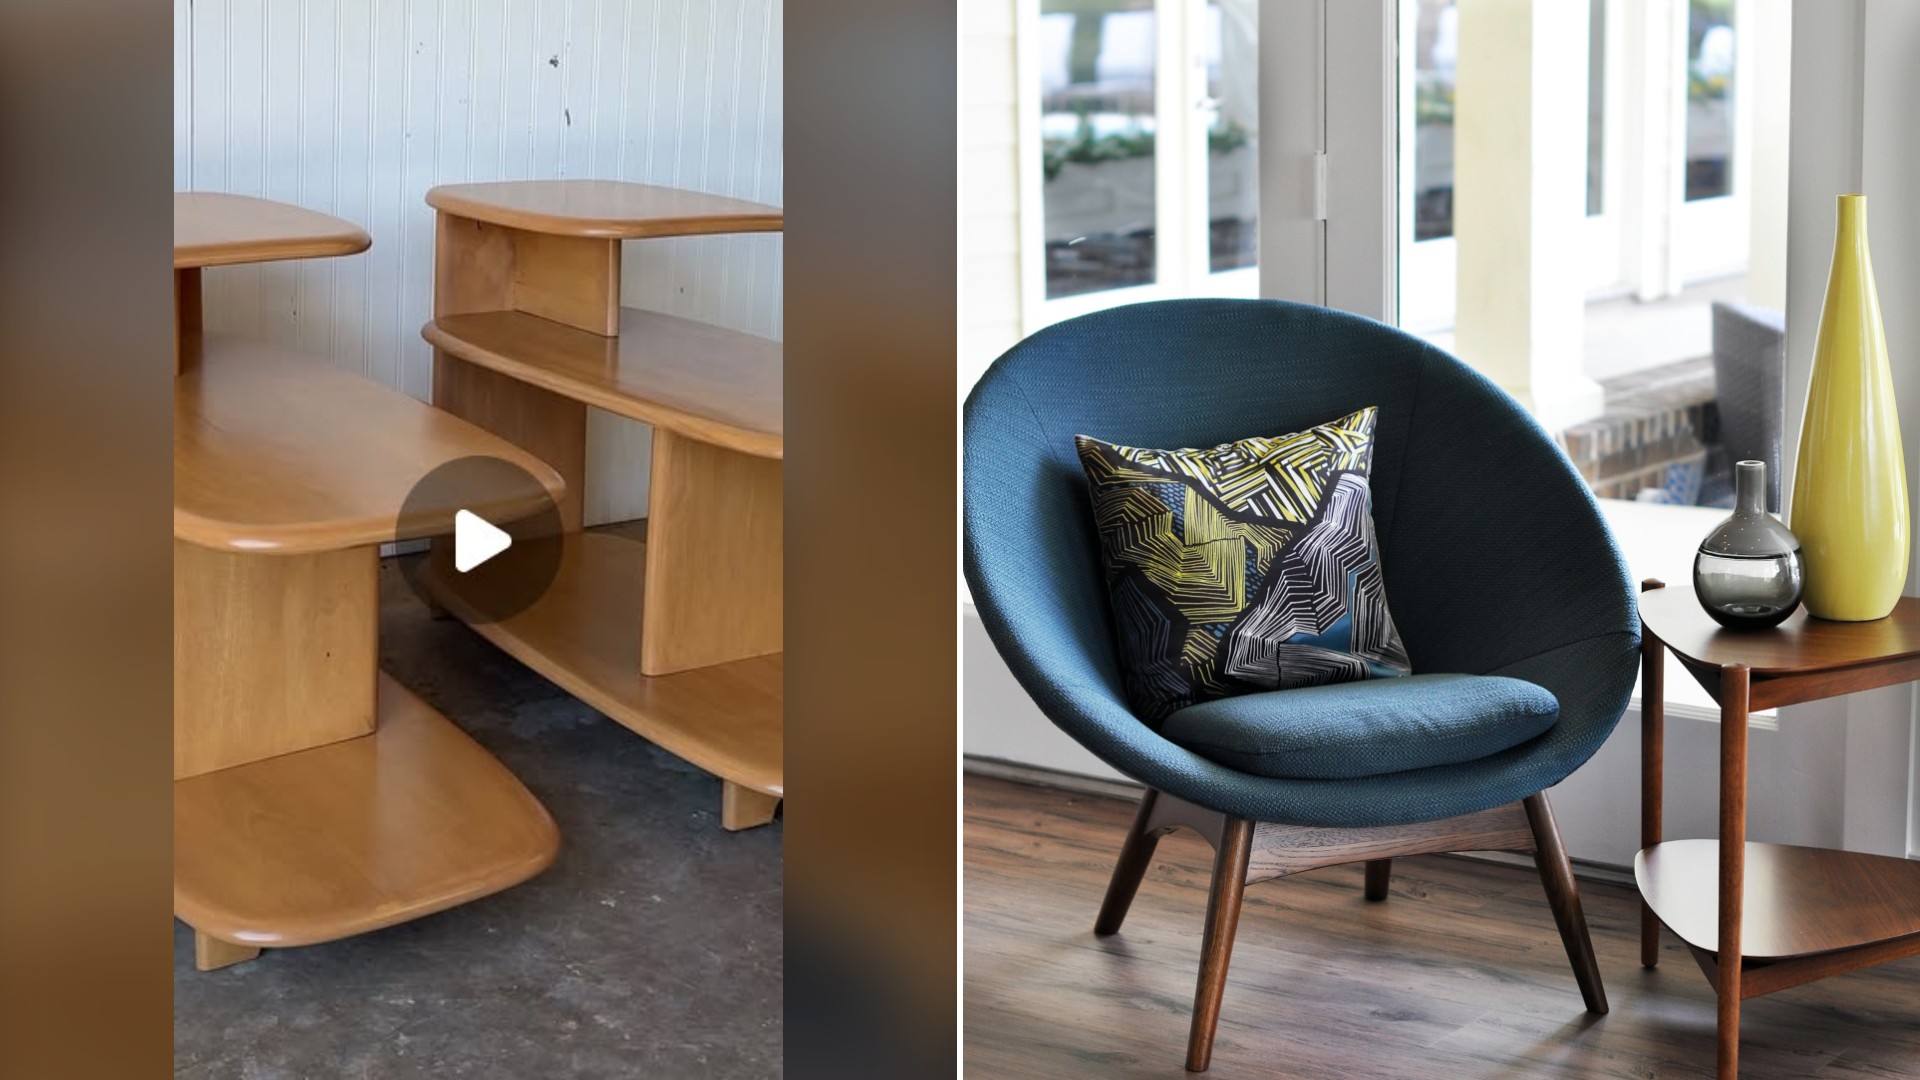
The restoration is shared by @thefurnituredr, who walks through every step, including the parts that gave her trouble.
View on Instagram
A thrift store find with scratches
In her workshop, she shows the tables next to a reference listing for the same style, then points out the flaws: scratches and a finish that had clearly been redone at some point. Her first step was a good clean. She then disassembled both tables, brushed on a chemical stripper and let it sit for about fifteen minutes. The old finish started to melt right off, which she cheerfully calls a satisfying strip.
Solid birch and gray specks
The pieces turned out to be solid birch. That meant she could sand off residue with a lower grit, but it also meant many joints had come loose and needed to be reglued and clamped. The grain also had gray specks, so she mixed up a wood bleach and applied it generously, then rinsed the wood with a baking soda solution to neutralize it before sanding everything smooth.
Matching the original finish
Vintage Heywood Wakefield furniture usually came in a wheat or champagne finish, so she tracked down a company that replicates those stains and chose champagne. It was a learning curve, because the stain was water based and she normally works with oil based products. She admits she was skeptical, but the color looked really good after the second coat.
The amber polyurethane topcoat, also water based, was the most stressful part. It dried fast and streaky, so she lightly hand sanded between each coat, which made a big difference. After three coats, she started what she calls the puzzle of putting the tables back together.
Before and after
The tables began covered in a dark gel stain and looked neglected. The after is a bright, warm champagne tone, and she says they are back to the way they looked when first manufactured in the 1940s. Despite her difficulties, she is impressed with how well the color turned out.
Lessons for your own furniture refinish
- Take it apart if you can. Separate tiers and panels are easier to strip, sand and finish evenly, and loose joints can be glued while everything is accessible.
- Let the stripper work. Waiting the time stated on the label means less scraping and less damage to the wood.
- Neutralize after bleaching. Rinsing the wood properly keeps leftover chemicals from interfering with the stain.
- Do a test piece. A hidden spot or scrap shows how a new stain will look on that specific wood before it goes on the top.
- Sand lightly between coats. This is her fix for a fast drying water based topcoat that streaks.
Common questions
Is it worth stripping a piece that was already refinished? If the wood underneath is solid and the shape is good, often yes. A thick or muddy old finish hides the grain, and removing it can change the entire look of the piece.
Water based or oil based? Water based products dry faster and clean up with water, while oil based ones are slower and often more forgiving to brush. Each has a learning curve, and the label will tell you what the product needs.
What safety steps matter most? Strippers and bleaches call for gloves, eye protection and good ventilation. Older finishes may also contain lead, so test before you sand a very old piece and ask a licensed professional if the result is positive.
How do I know a piece is solid wood? Look at the edges and underside. Matching grain that wraps around corners and thick solid edges suggest solid wood, while thin edge banding suggests veneer, which sands off far more easily.
The takeaway
The best thrift finds are often the ones that look a little rough. A pair of end tables that sat on a shelf with a sad finish became furniture that echoes how it looked in the 1940s, and the process needed little beyond patience, clamps and careful sanding.
Credit for the original post goes to @thefurnituredr on Instagram.
Leave a Reply